
In this guide, we will run you through the steps to migrate your data from Zephyr Enterprise to QMetry Test Management. This documentation enlists all the information on migration process like what can be migrated, and what are the assets/data that may not be migrated, features of the migration utility along with System Requirements, Pre-requisites, and steps to be taken care before proceeding with migration.
...
- JDK 1.8.0_151 or above needs to be installed.
- MySQL 5.7 or above needs to be installed.
- Operating Systems: Windows 10, Linux - Cent OS 7
- CPU: 8 Cores, RAM: 16 GB
- Apache Tomcat server needs to be installed. Reference: https://archive.apache.org/dist/tomcat/tomcat-8/v8.5.60/bin/ (select as per the system you are using).
- Zephyr Enterprise version 6.7.2 (Utility is tested on)
- Get your QMetry Migration Tool (zephyrent2qtm.war) and its license (qmetry-license-version-1.0) from QMetry Support.
- QMetry and Zephyr Enterprise should be running on your system with valid license.
- Set UTC Time Zone in QMetry as all the dates from Zephyr Enterprise will be migrated in to QMetry as per UTC time zone.
- Create Zephyr Enterprise users in QMetry.
- Export tags from Zephyr Enterprise and add them manually as Labels in QMetry. Refer to Labels in QMetry.
...
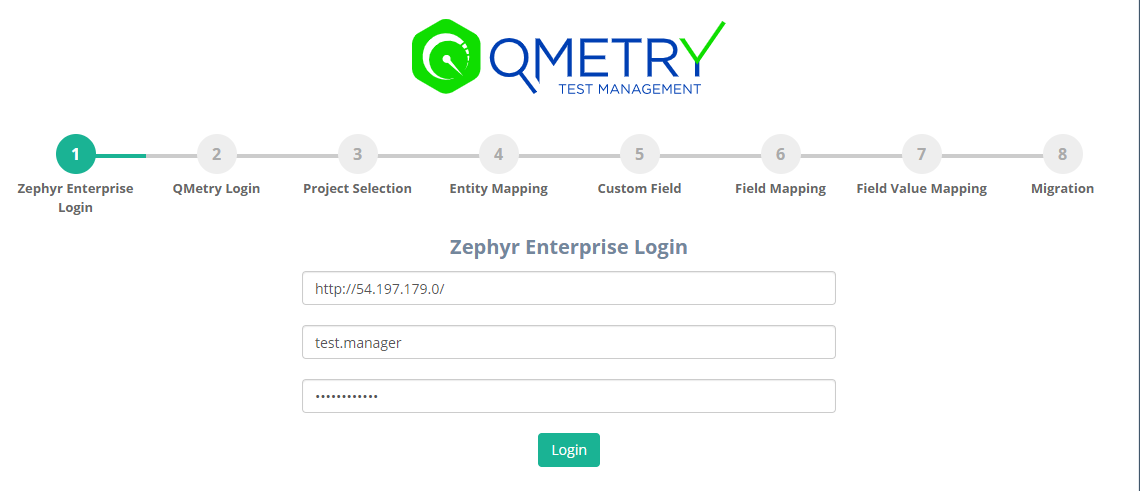
- Base URL: Zephyr Enterprise URL in the format: <URL>
- Username: Zephyr Enterprise Username and Password
Step 2: QMetry Login
...
- Capture Migration Logs
- The logs should be present in the logs folder of the migration utility directory containing the .war file. Zip the logs folder and send it to QMetry Support for investigation.
- Resume the Migration
- The migration can be resumed by refreshing the existing page and clicking "Resume" OR from the URL : http://<utility_url>/zephyrent2qtm/migration
- Reverting API metering, Audit history logging and Email Notifications.
- Once the projects have been migrated, or in cases when users would use QMetry and no projects would be migrated for significant amount of time, in those cases these changes should be reverted.
- Refer to the beginning of the Migrating from Zephyr Enterprise to QMetry using QMetry Migration Tool#Before you begin 1833140260 for the changes required.
...