| Table of Contents | ||
|---|---|---|
|
...
|
|
|
Notes:
- Filters applied on folders, system, custom, or Jira fields on the module are carried forward to the bulk operations. This allows performing bulk operations by filtering on all the fields.
- Fields enabled on the module grid are also enabled while selecting records on the bulk operations screen.
When Jira is integrated with the project, requirements can be filtered on Jira fields. Users can then perform bulk operations on filtered records.
From where to access the Bulk Operation feature?
...
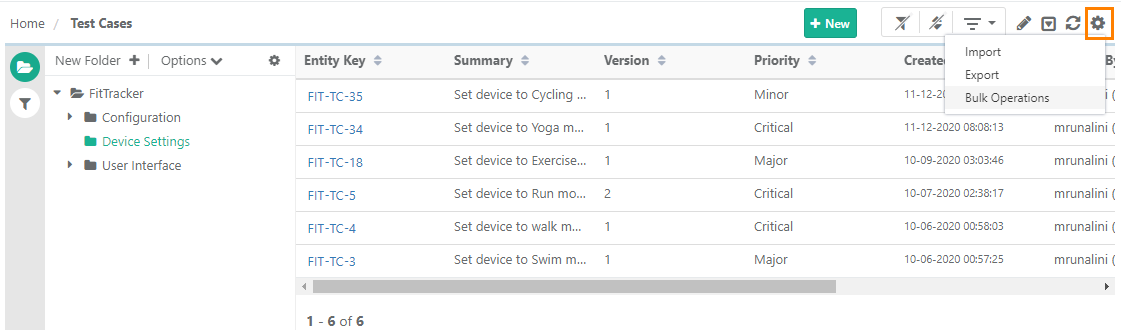
Click on the Con icon  at the top right corner on the toolbar and select Bulk Operations.
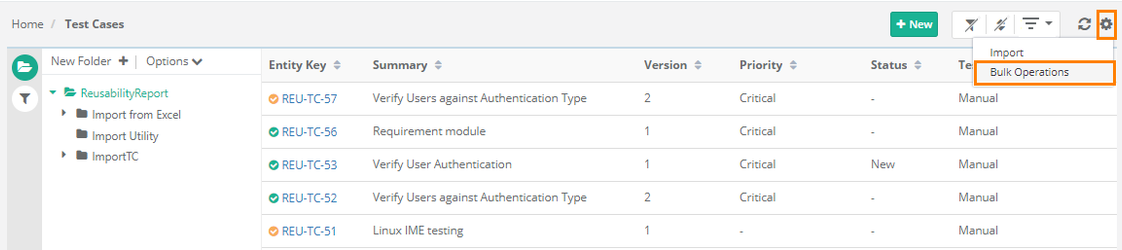 .
.
Users can apply filter on test cases from the Test Cases module main screen. Filters applied on folders, system or custom fields on the module are carried forward to the bulk operations. With this, the bulk operations can be performed by filtering on all the fields. Fields enabled on the module grid are also enabled while selecting records on the bulk operations screen.
The table below show what operations you can perform for different test assets.
Module/Operation | Copy | Move | Edit | Delete | Archive | ||
|---|---|---|---|---|---|---|---|
Unarchive | Approve | |||
|---|---|---|---|---|
Within Same Project | Across Project | Within Same Project | Across Project | |
Requirement | Y | Y | Y | Y |
Y | Y | Y | Y |
Y | |||||||||
Test Case | Y | Y | Y | Y | Y | Y | Y | Y | Y |
Test Suite | Y | N | Y | N | Y | Y |
Y | Y | Y |
Issue* | Y | Y |
Y | Y | Y | Y | NA |
NA | NA | ||||||||
Platform | NA | NA | NA | NA | NA | Y | Y | Y | NA |
* Requirements/Issues should have been created only in QMetry. Bulk Operations could not be carried out on requirements/ issues imported from Jira.
...
| Info | ||
|---|---|---|
| ||
Note: Bulk Operation can be performed on maximum 1000 records at a time. Different . If the number of test assets exeeds 1000, then the Bulk Operations button will remain disabled. Different filters are provided to help you narrow down the test assets count and move ahead with bulk operation. |
Available Filters

...
...
Bulk Edit
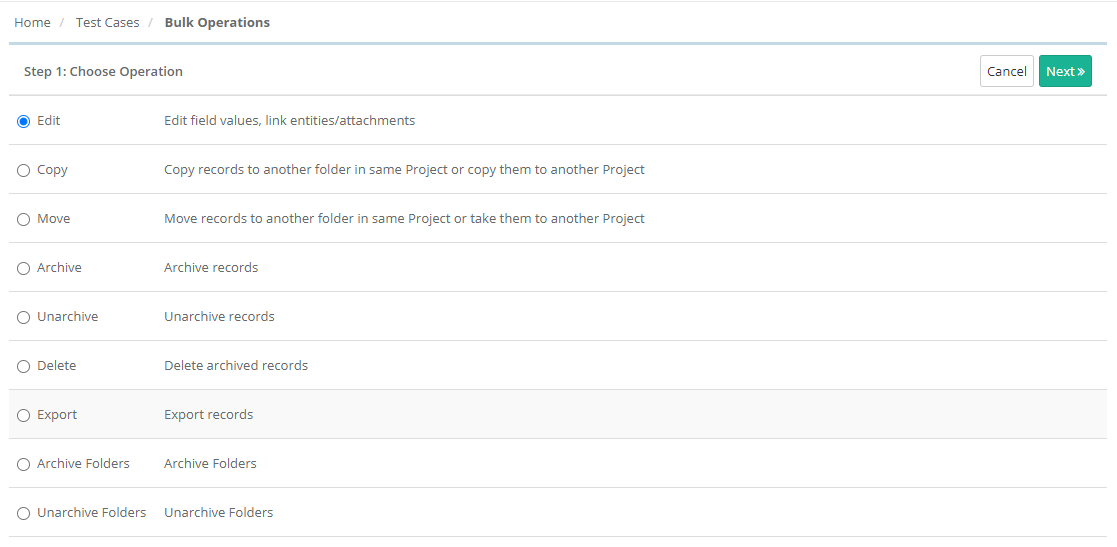
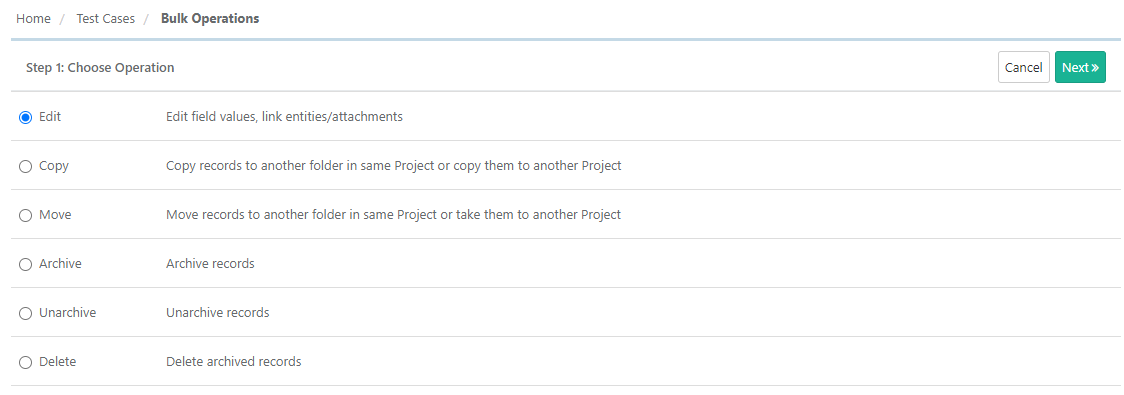
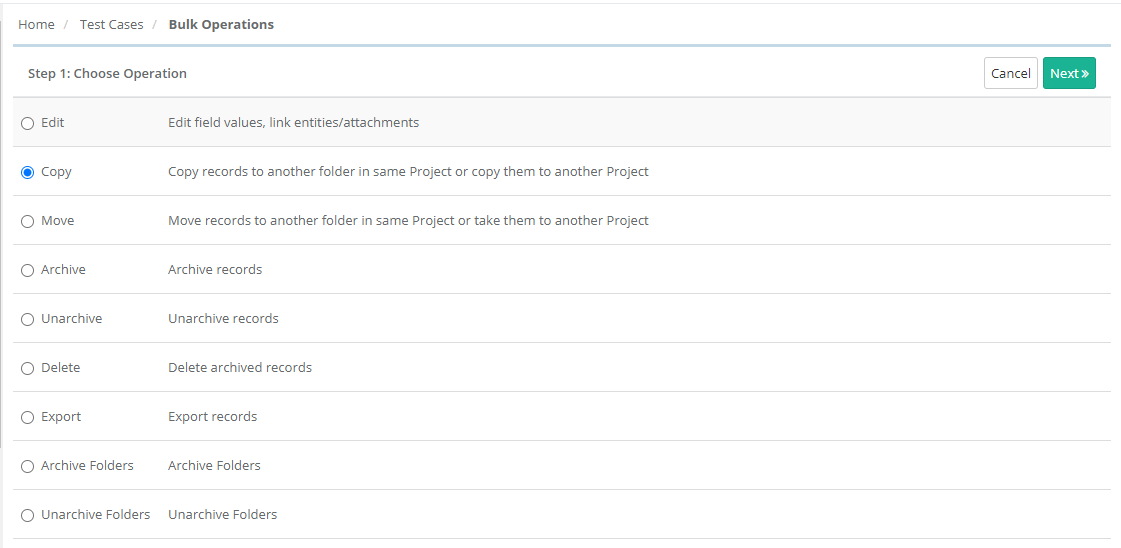
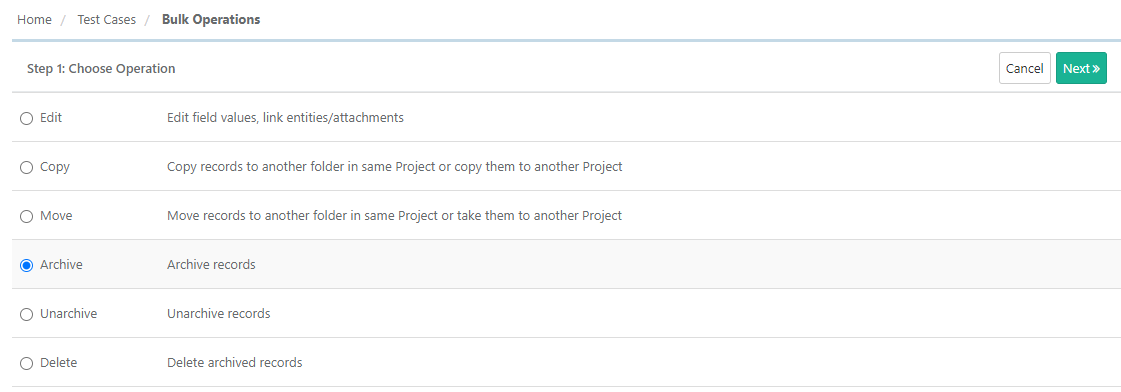
Step 1 Select the Edit operation you want to perform on the assets and click Next.
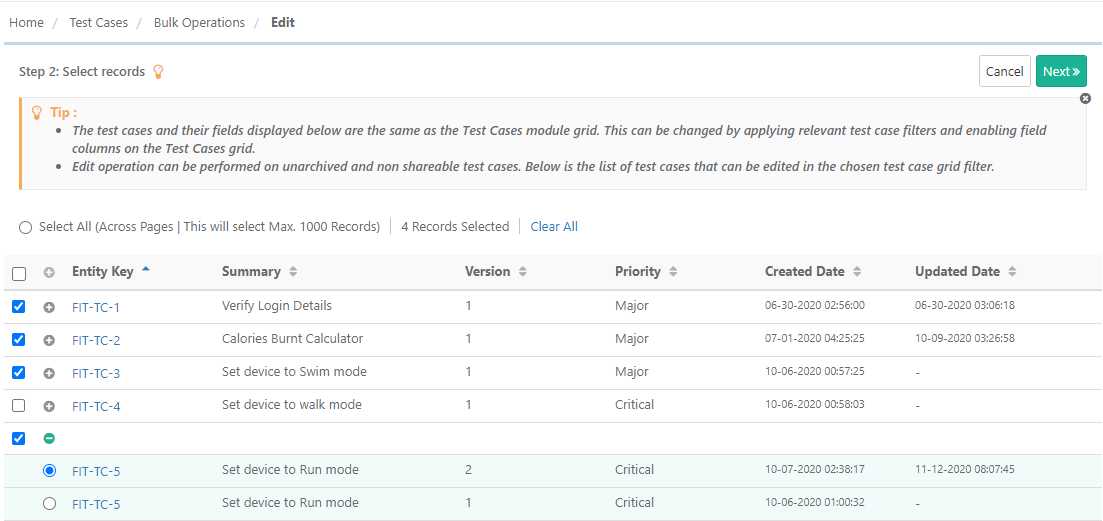
Step 2 Select assets: The next screen displays records with check box. Select assets on which you want to perform bulk operations by selecting check boxes and then click Next.
...
| Info | ||
|---|---|---|
| ||
Note: Users can carry Bulk Operation only on internal QMetry requirement/ issues and not on requirements/ issues that are imported from Jira. |
...
. |
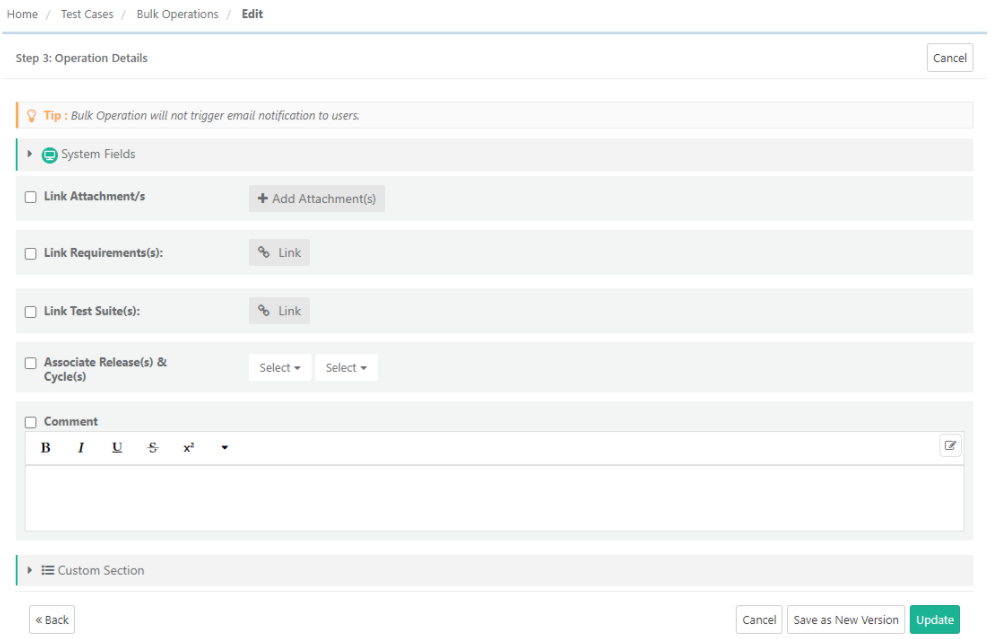
For example, for Edit operation, the screen opens with fields for editing bulk test cases.
- Specific Version: You can select a particular Version of the test case to edit. Test Cases with multiple versions are expandable and you can view all the available versions for the test case.
...
Expand the test case and select the required version you want to edit.
Step 3 Operation Details: The screen depends on the operation you selected in Step 1 above.
For example, for theEdit operation, the screen opens with fields for editing bulk test cases.
Bulk Operations for Test Cases:
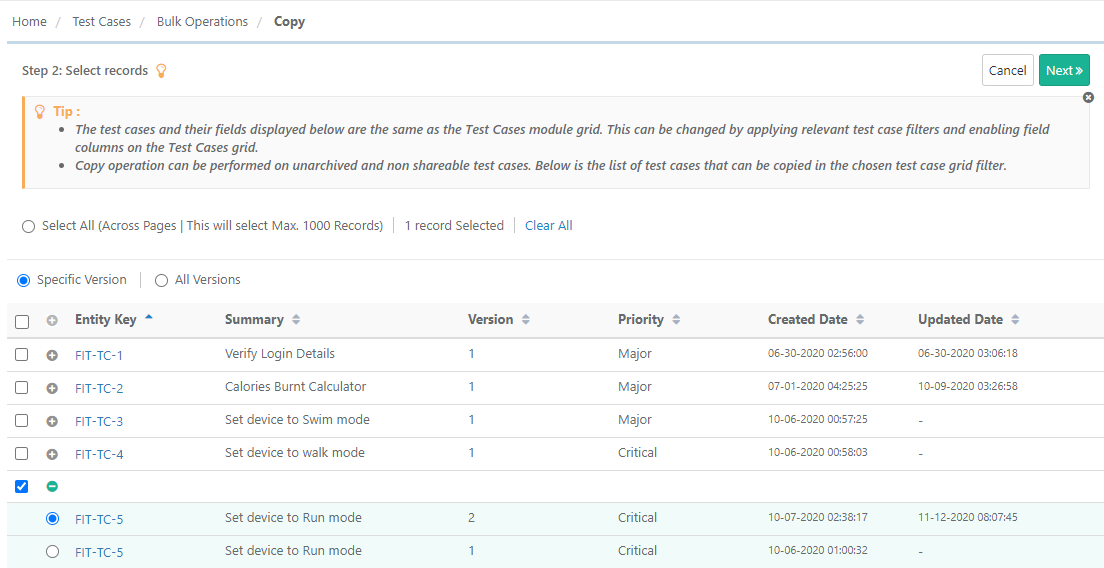
...
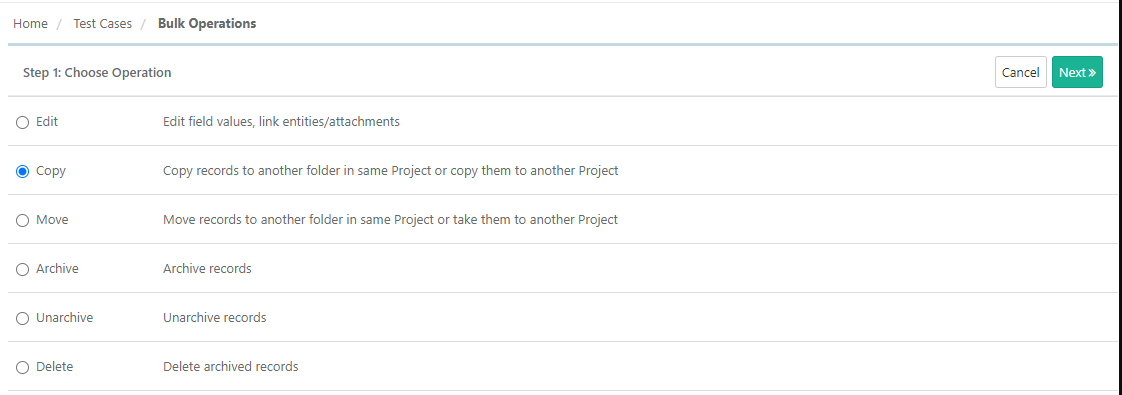
Step 1 Choose Operation: Select Copy as the operation to perform and click Next.
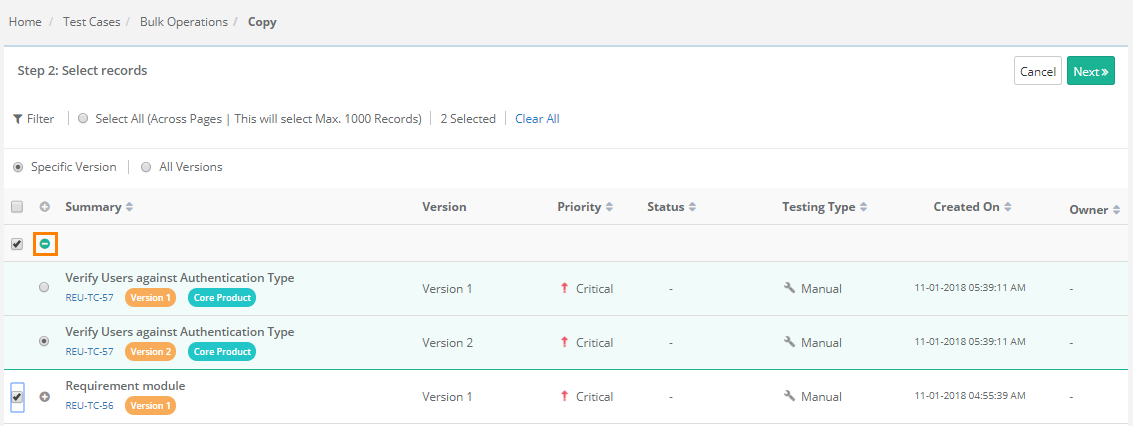
Step 2 Select records
1. Select test case records which that are to be copied. If you want to copy all the test cases across pages then select the Select All (Across Pages) option. Maximum 1000 records can be selected at a time.
2. You can apply Filter to search specific records based on different criteria. It will help you pick required test cases and narrow down the test case count to be copied.
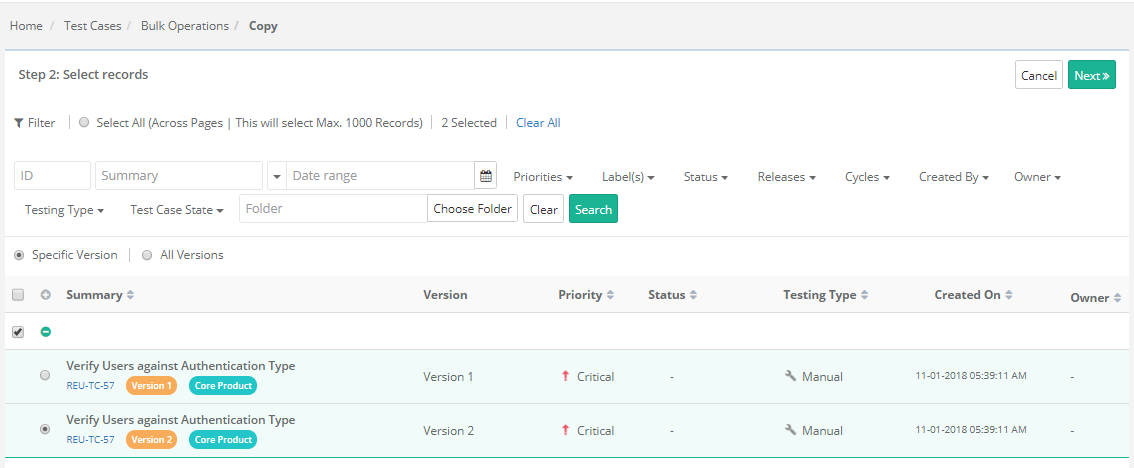
You can also view records of a specific folder by applying filter on Choose Folder.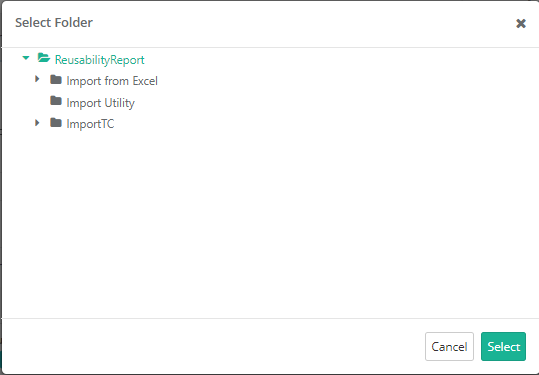
3. Select test case version options:
- Specific Version: You can select a particular Version of the test case to copy. Test Cases with multiple versions are expandable and you can view all the available versions for the test cases.
...
- All Versions: If this option is selected, then the Version button is disabled. Users can not select a particular version of the test case.
4. Click Next.
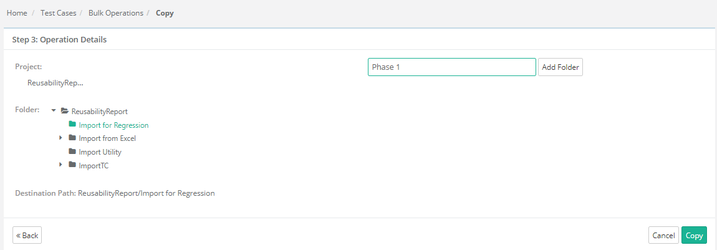
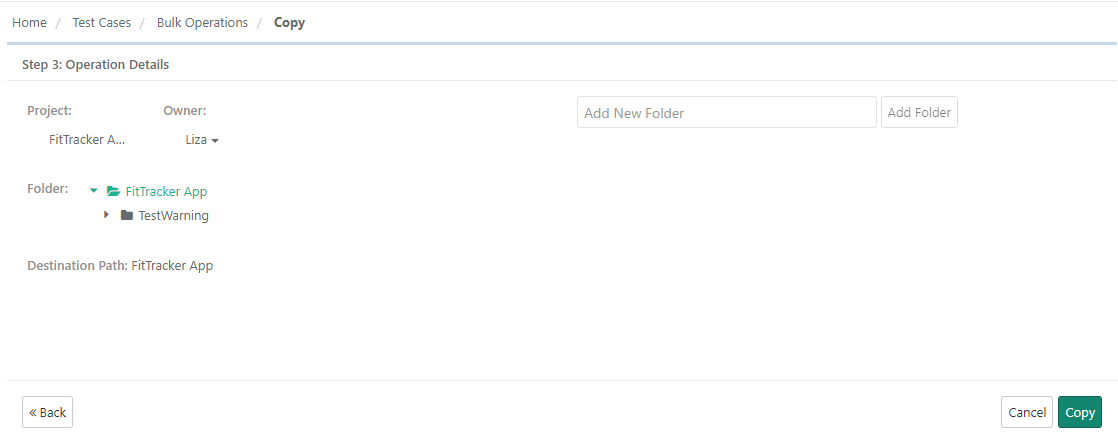
Step 3 Operation Details
- Project: You can copy test cases within same project and across projects. Select the destination Project you want to copy the selected test cases to.
- Owner: Select Owner of the requirements in the destination project. The Owner list is populated as per the Project selection.
- Folder: Select the folder in which you want to copy the selected test cases. To create a new folder in the destination project, enter folder name in the box and click on the Add Folder button. The new folder is added on the Folder tree.
- Destination Path: The Destination Path is displayed according to the Folder selection on the tree.
Count of copied entities is displayed in the Scheduled Task window that can be opened by clicking on the icon on the application header.
- You can also create a new folder to add to the tree.
Click Copy.
Bulk Move
The process is same as Bulk Copy except the version selection. Test Assets will be moved with all their existing versions.
...
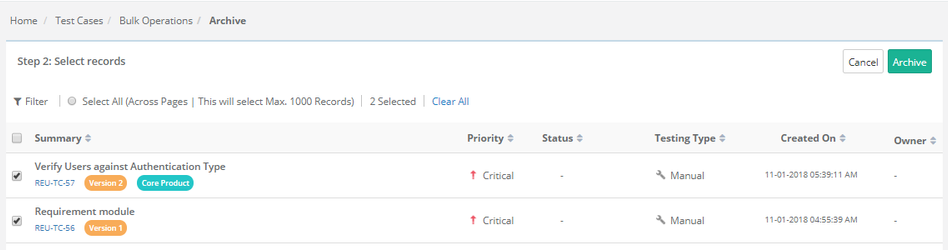
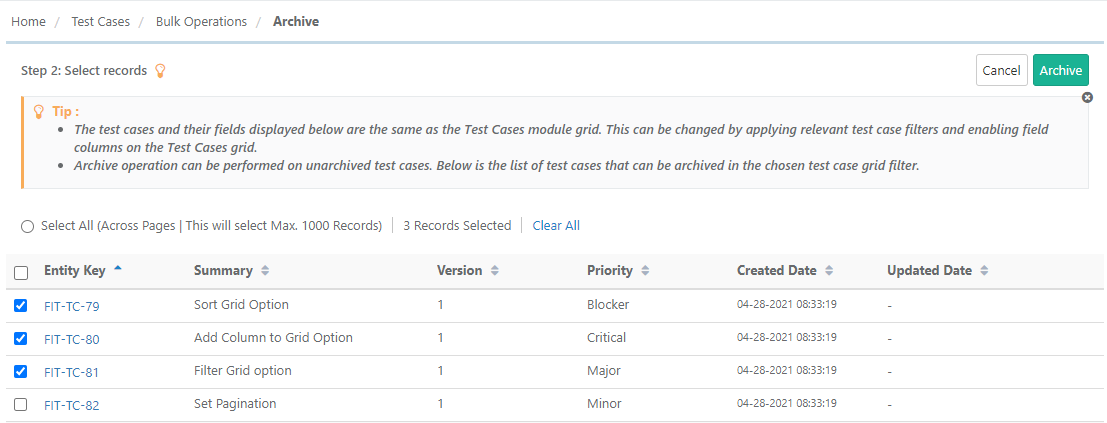
Select Archive as operation to perform and click Next.
Select test case records which are to be archived and click on the Archive button. Confirm the operation on the dialogue window.
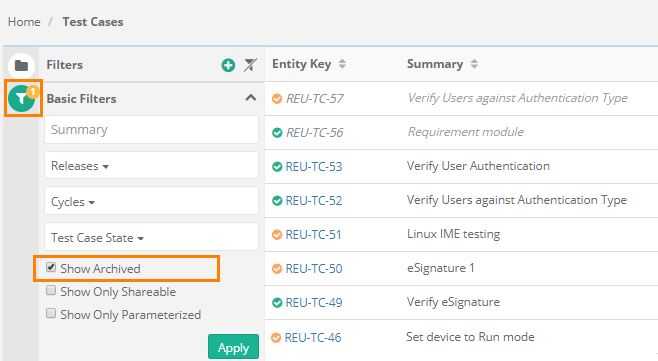
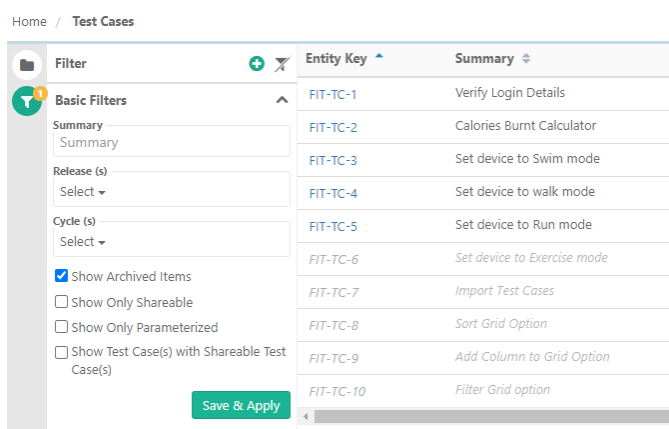
To view archived records along with other records on the test case list view, apply Basic Filters on the tree pane.
Select the Show Archived check box.
The following operations will be available for archived assets:
- Unarchive: Unarchive selected test cases.
- Delete: Delete archived test cases.
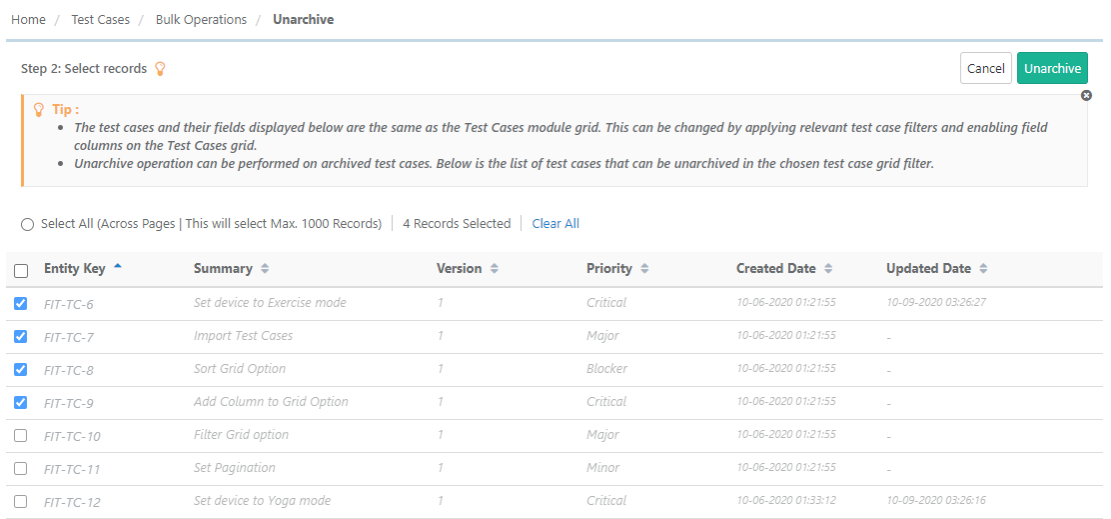
Bulk Unarchive
1. Go to Bulk Operations.
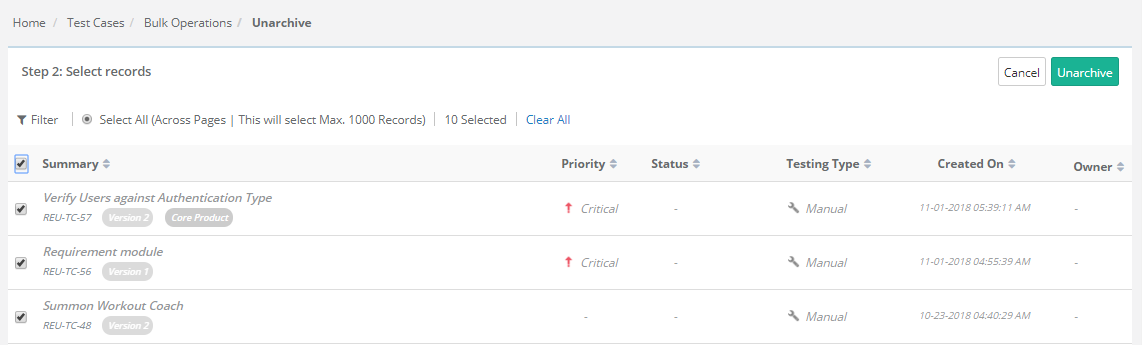
2. Select Unarchive as the operation to perform and click Next.

The screen shows archived records.
3. Select the records you want to unarchive and click on the Uarchive button.
Bulk Delete
All the versions of requirement/test case should be archived to delete that particular requirement/test case.
It is a two steps process:
...
The following operations will be available for archived assets:
- Unarchive: Unarchive selected test cases.
- Delete: Delete archived test cases.
Bulk Unarchive Folders
- Go to Bulk Operations.
- Select Unarchive Folders as the operation to perform and click Next.
- The screen shows archived folders.
- Select the folders you want to unarchive and click on the Uarchive button.
...