| Table of Contents | ||
|---|---|---|
|
...
| Expand | ||
|---|---|---|
| ||
Steps
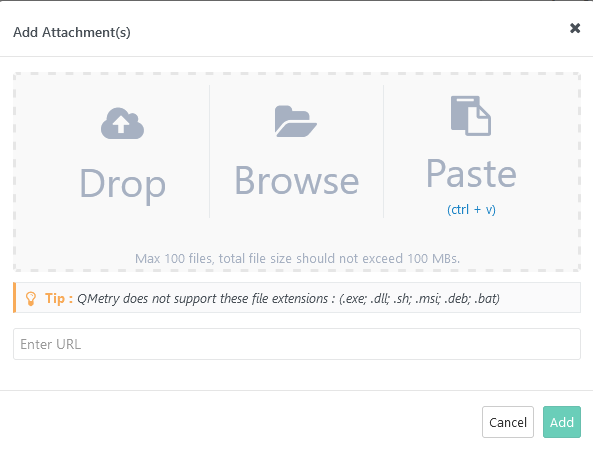
You can attach different types of attachments: files, images, and URL. The Add Attachment pop-up allows you to upload multiple files at a time.
Add attachments in three ways:
Notes:
You can also remove individual attachments at the uploading stage. |

...
Create and Link New Jira Issues
On the Test Run Screen, click the Bug icon for the test case/step to which the issue is being added.
1. Open the Create Issue tab to add issues and link it to the test case.
2. Jira Instance and Jira Project: It shows the Jira instance and Jira project that has been configured with your current QMetry project. Select the Jira instance and project to which the issue is to be added.
3. The Description field: Issues raised to Jira from Test Execution Screen of QMetry fields include field values from QMetry. In QMetry, you can use the text formatting notations as per Jira Wiki Editor in the Description field.
The following fields will be auto populated from QMetry test case to Jira issue Description field:
...