QMetry defines a Build as a specific iteration of the product to be tested. Other common names for a Build are "drop" or "iteration". Builds are associated at Release and Cycle level.
The Builds feature lets you integrate patch testing into your QA process. QMetry allows you to add a new patch instead of adding a new cycle altogether. Users can easily record the execution results for Builds.
For Example,
A bug fix is provided in a patch by the Development team. QA team has added relevant test cases and included these test cases for execution. On the Test Suite Execution screen, QA Lead assigns a Build to these test cases to make them easily identifiable.
Expand Projects on the side bar and select Builds. It displays the list of Builds added for the project. Rights related to Build are assigned from Administration > Roles.
You can add new Builds and edit the details of an existing Build from this screen.
To add a new build, click on the New button on the header.

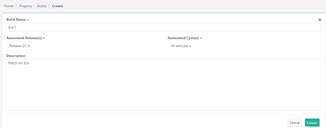
The Build Create screen opens.

Enter Build Name and its relevant Description in corresponding fields.
Associated Releases: Select the Release on the drop-down list you want to link the build with. You can select multiple Releases to associate with the Build that is being added.
Associated Cycles: Cycle list is populated as per selected Release. You can select multiple Cycles to associate with the Build that is being added.
Click Create.
The build will appear on the Build list on the Test Execution Screen when the test execution is associated with the same releases and cycles.
Go to Projects > Builds. The screen displays list of Builds.
Click on the
Edit button for the Build the details of which you want to edit.

The next screen opens with fields in editable mode. Make required changes in the details and click Update to save the changes.
Note: The Set Default option for default build configuration on Build Create and Edit screen will be visible only if you have purchased Customization package. |
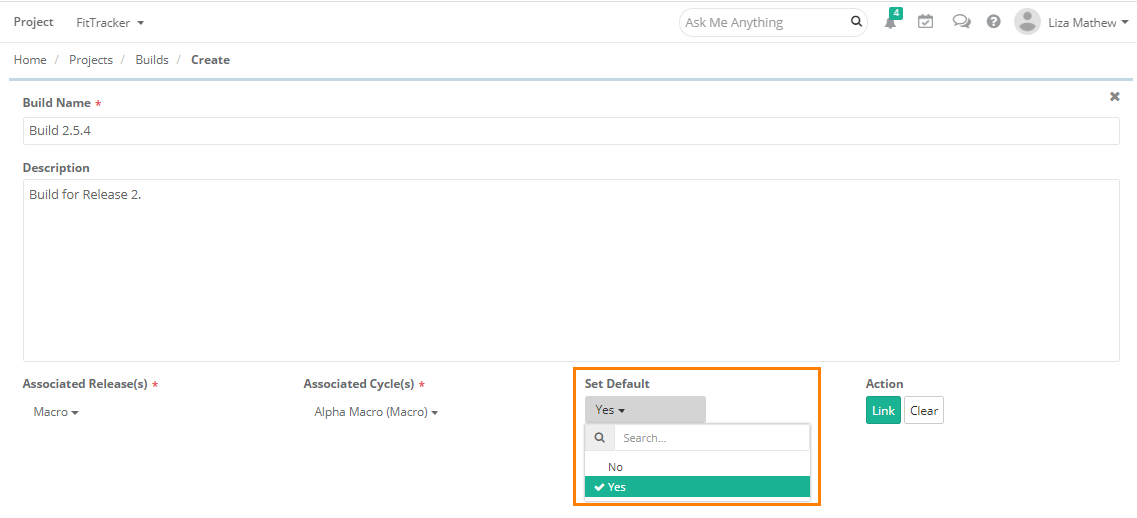
While creating a new build, the Set Default drop-down with Yes/No options is available to mark the build as default.
Set Default - Yes : The build will be set as a default build on the execution screen for the selected Release Cycle combination.
Testers do not need to remember and set the build manually every time. This also helps them to reduce build association errors.
QA Manager can always set the current build as a Default Build to ensure the executions are always associated to the current build.
Only one default build can be set for a given combination of a Release Cycle.
Set Default - No : Makes the Build as non-default. When some other build is set to default, this flag will be set to “No” for the previously default build.

Edit Build and Set it as Default
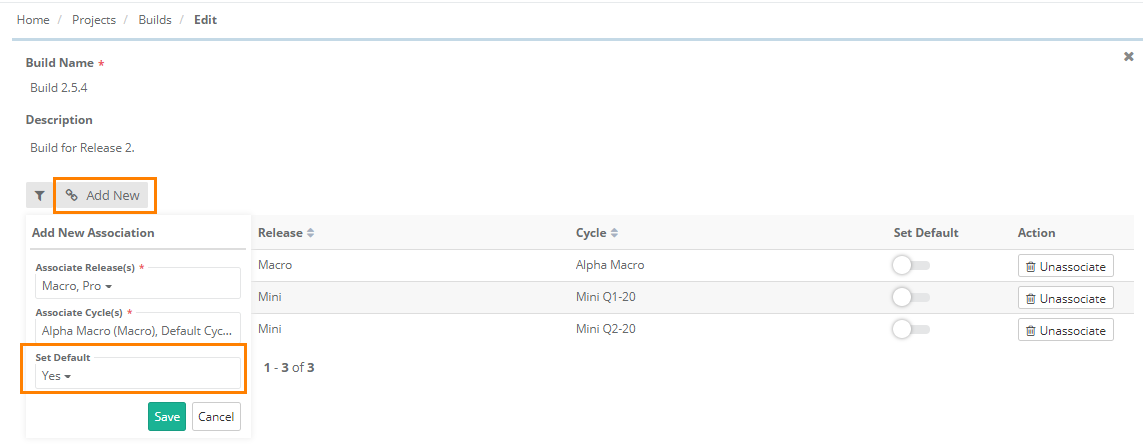
On the Edit Build screen, users can edit existing build data and also add new release and cycle with default build value in edit build screen.
While editing an existing build, the Set Default toggle option is available. Turn the toggle ‘On’ to mark the build as default for the Release and Cycle combination.
You can mark the build as default either while adding new Release(s) & Cycle(s) to the build. You can mark the build as default build for multiple combinations of Release(s) & Cycle(s) at a time.

You can mark the build as default after adding new Release & Cycle to the build.

You can view the Release(s) & Cycle(s) that are associated with the default build on the Build grid in Projects > Builds.

On the Execution Screen -
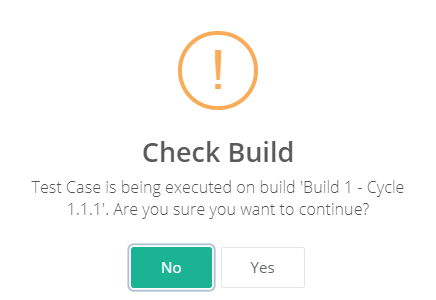
When a Build is set as default and the user tries to change the execution status of the test case on the Execution Screen, the confirmation message pops up showing the default build on which the test case will be executed. To proceed with the default build click Yes. You can see the build on which the test case is executed in the Build Name column.
To execute the test case on other build, click No and change the build using the “Set Your Build” option for that test case.

This feature is implemented to archive Builds added by mistake or that are no longer needed. When the user archives a Build, it turns invisible across QMetry including reports.
Use Case 1. A Tester added a Build by mistake and now they do not want the Build to appear on the screen. So they archive the Build to hide it.
Use Case 2. A Tester has completed working on a particular Build. Now the user does not intend to relate any test case to that Build and work on it. For the reason, they archive the Build.
1. Go to Projects > Builds. The screen displays list of Builds.
2. Click on the Archive button for the Build that you want to archive.
The Unarchive button becomes visible for the build.

To unarchive the archived build, click on the Unarchive button for the build.

Unassociate Release and Cycle
Open the Build Edit page.
Locate the section displaying association of Release and Cycle with Build.
To dissociate release/cycles linked to the build, click on the Unassociate button for the corresponding release/cycle.
