Back to QMetry All Products Help Page
How to Configure QMetry Application in Okta?
Steps:
1. Open the Okta URL, Go to Admin.
2. Select Classic UI on the top bar.
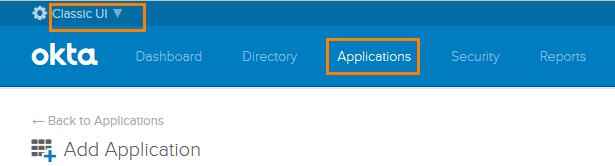
3. Click on the Applications option on the header.

4. Click on the Create New App button.
5. On the next screen, select SAML 2.0 as Sign on method.
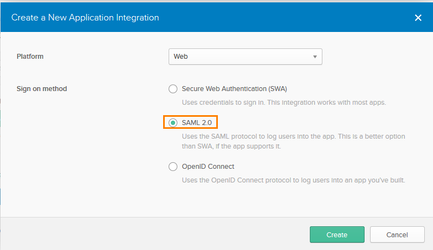
6. Click Create.
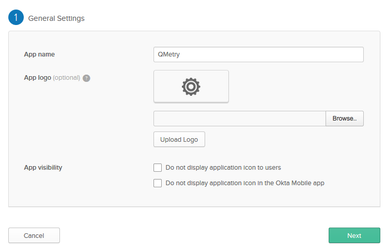
7. Provide App Name like QMetry and add a logo. Click Next.
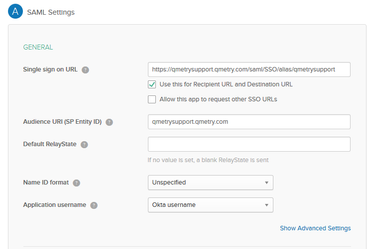
8. Provide the following details for SAML Settings:
- SP Entity ID: <clientdomain>. For example if your QMetry URL is https://production.qmetry.com the SP Entity ID will be production.qmetry.com
- Keep rest parameters as default.
9. You can configure Firstname, LastName and Email from SAML to QMetry. The values will be populated in respective fields when you are creating a new user in QMetry.
In Okta, go to the Attribute Statements section.
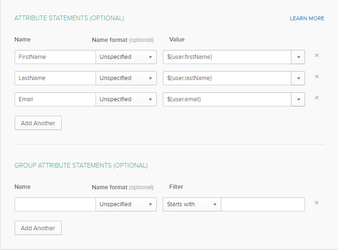
- Mention QMetry fields (FirstName, LastName and Email) at left.
- Select its corresponding values in Okta from the drop-down list at right. The values are editable.
- Make sure you put the values in curly brackets {} and pre-fix $ to it. For example, for value "user.FirstName" you should write it as ${user.FirstName}
10. Move to next screen and Click Finish.

11. Click on the Identity Provider metadata to download the metadata xml file.
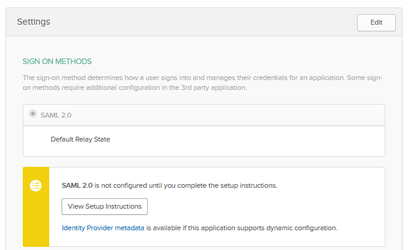
12. Rename it with extension “.xml”. You will need to upload this file to configure SAML Settings in QMetry as mentioned in the Step No.21 below.
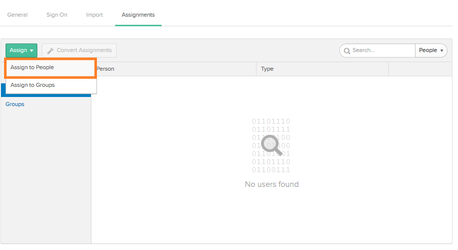
13. Now go to the Assignments tab in Okta.
14. Select the Assign button >> Assign to People and assign the application QMetry to Users.
15. The next screen Assign QMetry to People opens.
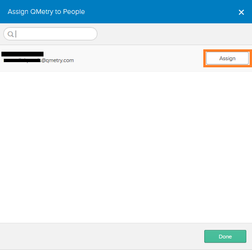
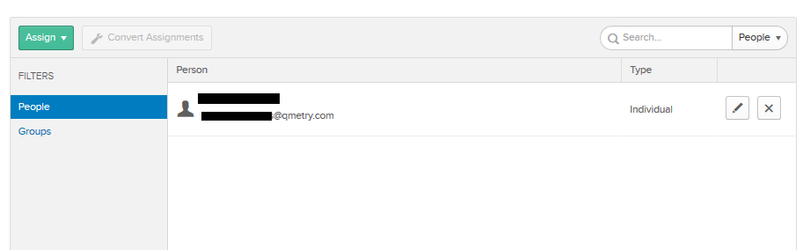
16. Assign QMetry to a user by clicking on the Assign button for that user.
17. Click Done.
18. The User Name appears in editable mode.
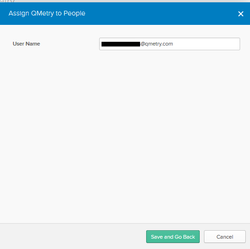
19. Change the User Name, if you want to make any changes to it.
20. Click on the Save and Go Back button.
21. Click Done.
Back to QMetry All Products Help Page