Custom Fields
Introduction
QMetry allows users to add Custom Fields or User Defined Fields (UDFs) in addition to the built-in fields, for different Test Assets. UDF's are editable fields which the admin user can add/remove as per requirement. Custom Fields can be defined for Test Case, Test Cycle, and Test Plan.
Need: QMetry provides most of the standard fields define in Testing process; however, sometimes, the QA manager wants to add custom fields to track the details at granular level. QMetry allows QA Managers to create custom fields for Test assets to customize the entities according to their set Testing Process.
Custom Field types supported:
Admin can add the following types of UDF's in QMetry:
- Single Line Textbox
- Multi Line Textbox
- Radio Buttons
- Checkboxes
- Single Dropdown
- Multi Dropdown
- Date Picker
- Date Time Picker
- Number Field
Permissions Required :
Jira Permissions : Browse Project permissions are required.
QMetry Permissions :
- If Enabled then below permissions are required.
- Configuration View
- Configuration Modify
Creating a Custom Field
Below are the steps to create custom field:
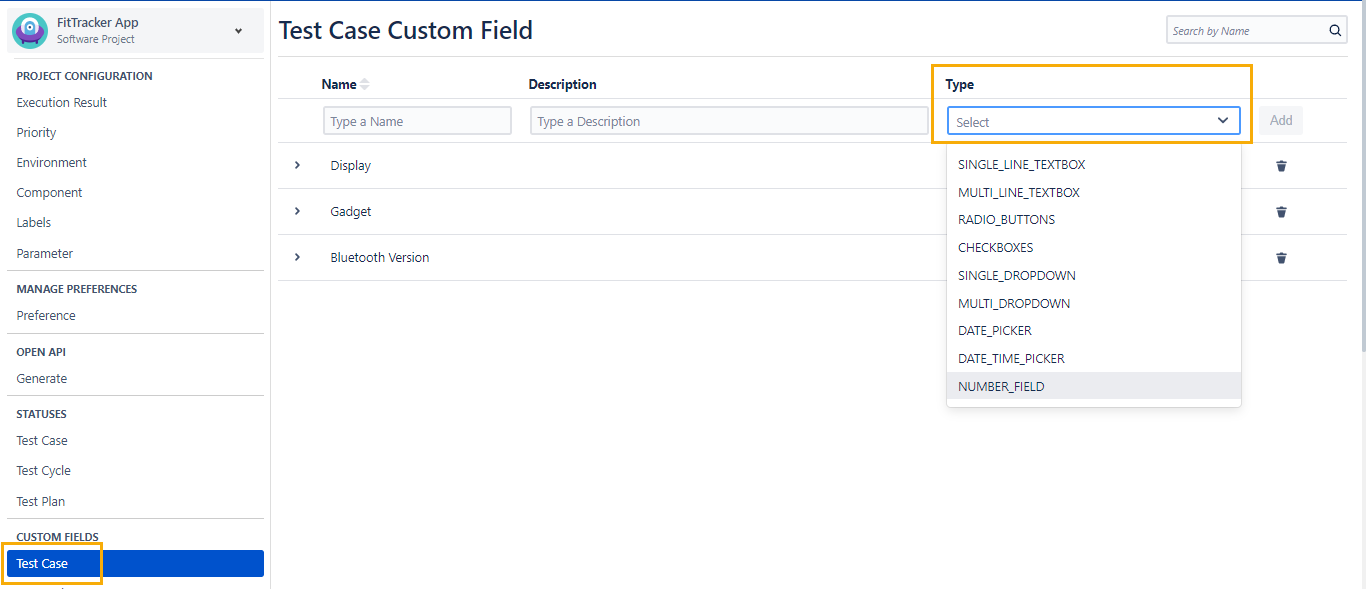
- Go to Configuration > Custom Fields.
- Select the section Test Case/Test Cycle/Test Plan to which you want to add a custom field.
- Enter Name and Description for the field .
- Select the Type of the field.This is custom field's Data Type. The types listed on the drop-down are supported by QMetry. Select the relevant type for the custom field.
- Click on Add for Value section and then click add for custom field.
Note: While creating custom fields, we need to choose type of custom field relevant to requirement as it can't be edited again.
Admin can add the following types of UDFs in QMetry:
- Single Line Textbox : A basic single line text box that allow simple text input.
- Multi Line Textbox : A basic multiple lines text box that allow simple text input.
- Radio Buttons : This allows only one condition to be applicable at a time for a custom field value.
- Checkboxes : This allows one to multiple conditions to be applicable at a time for a custom field value.
- Single Dropdown : User can enter options to display for dropdown as well as select single value from dropdown at a time in test assets.
- Multi Dropdown : User can enter options to display for dropdown as well as select multiple values from dropdown at a time in test assets.
- Date Picker : This type provides functionality to add date from calendar.
- Date Time Picker : This type provides functionality to add date from calendar as well as time (with 30 mins slots)
- Number Field : This type provides functionality to add only numeric values for a custom field.
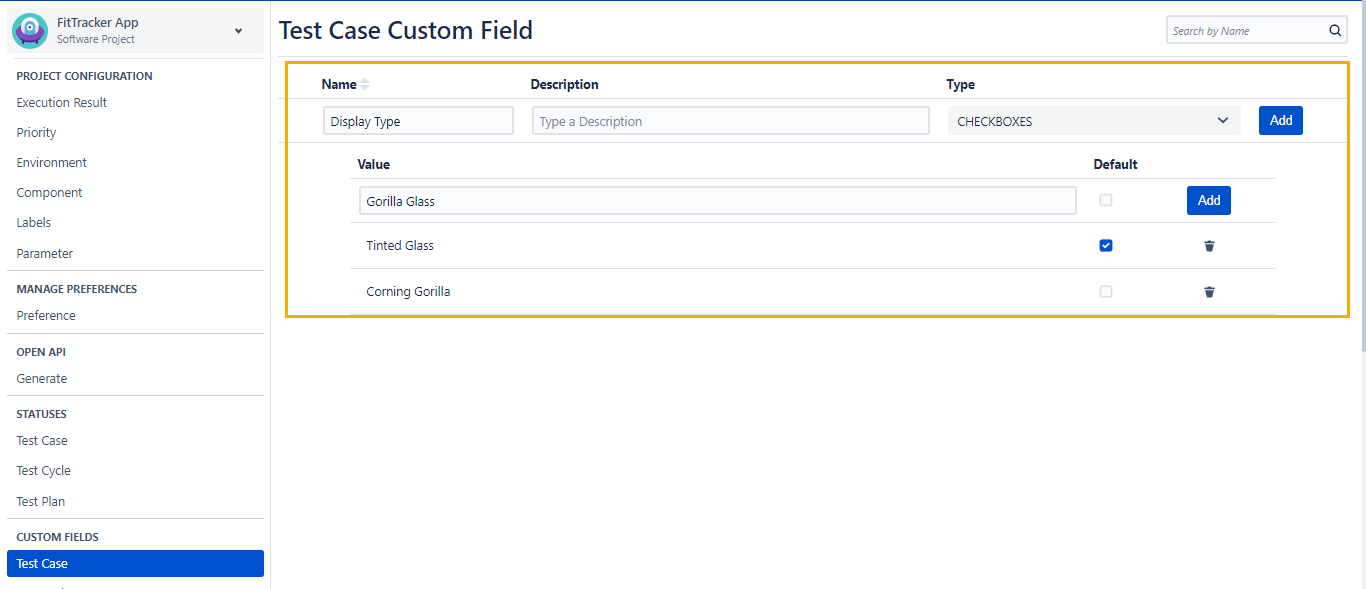
- Custom Field Value: Enter values for the custom field. These values will be populated on the field in respective section for test authoring.
- Default Value/Field Default: Preserving a default value for a custom field is very helpful when user is adding records with similar values for a particular field or when the value needs to be remained consistent for all the entities. The custom field value will auto-populate for the field while test authoring.
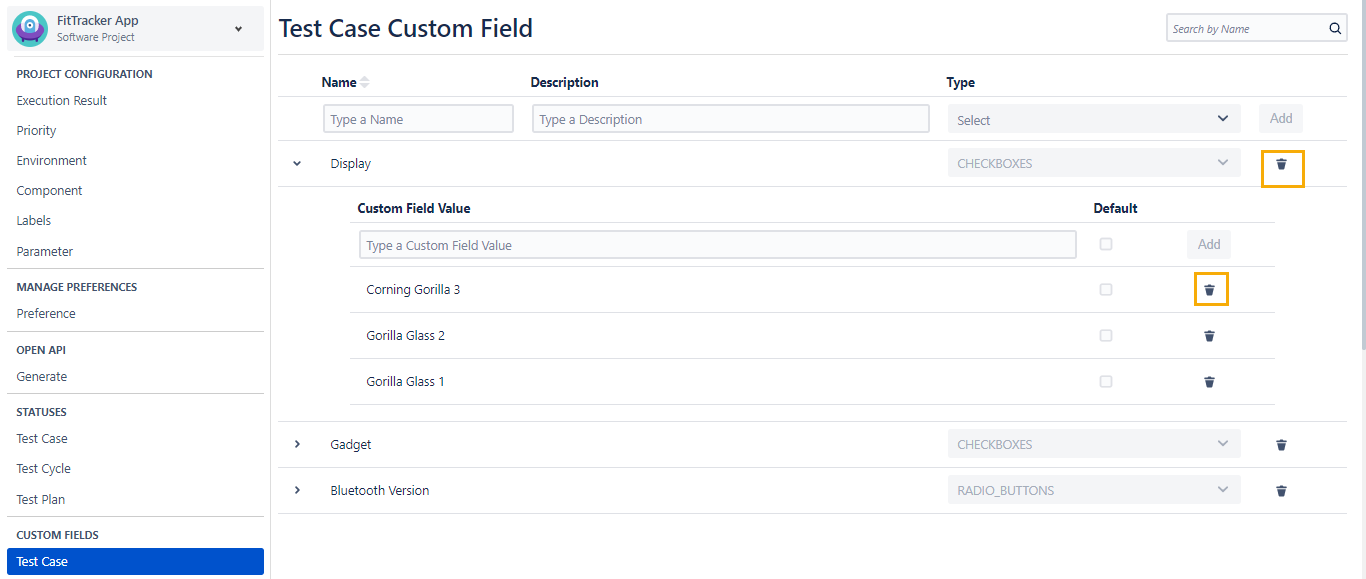
Below screenshot shows how to add custom field along with custom field values:
Editing a Custom Field
User with 'Configuration modify' access to the project can edit a custom field that is already created. Below are the steps to delete a custom field:
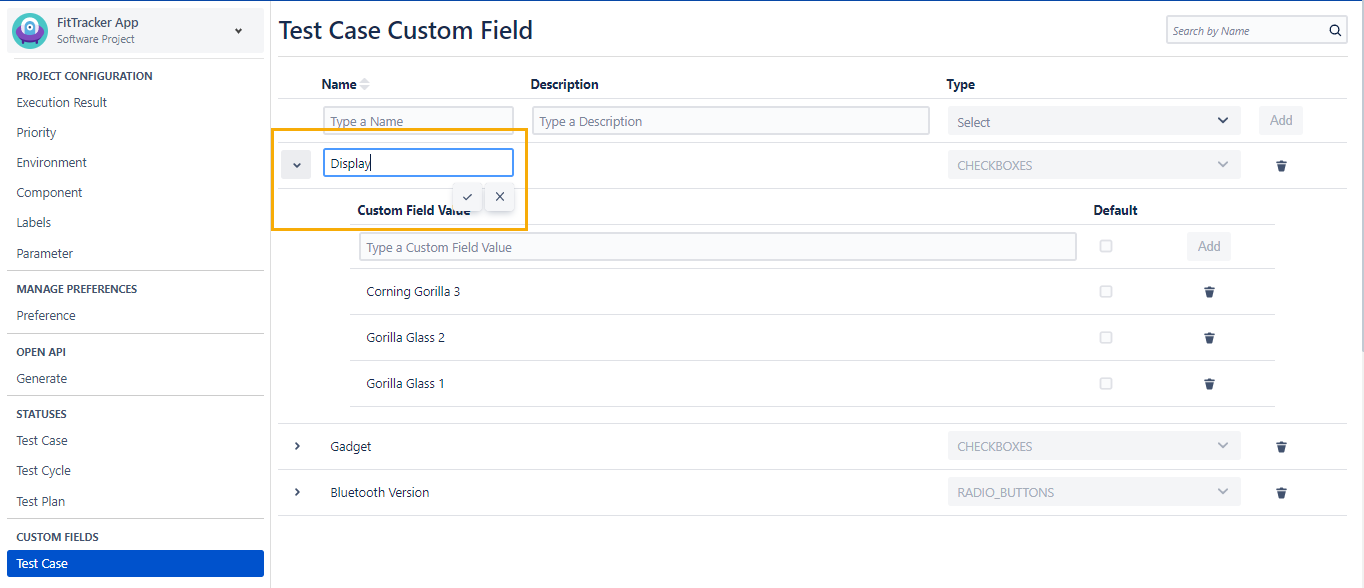
- Click on the custom field name , and a text box appears to enter the new custom field name as shown in below screenshot
- After typing the new name, click on the tick mark symbol. Also, editing description field can be done on similar lines.
Note: Once the custom field's value is selected as default, the changes will reflect on newly created Test assets.
Deleting a Custom Field
User with 'Configuration modify' access to the project can delete a custom field which is now not in use.
Below are the steps to delete custom field:
1. Go to QMetry menu > Configuration > Select your Project
2. Under Project Configuration select Custom Fields. The custom field's list is displayed on the screen.
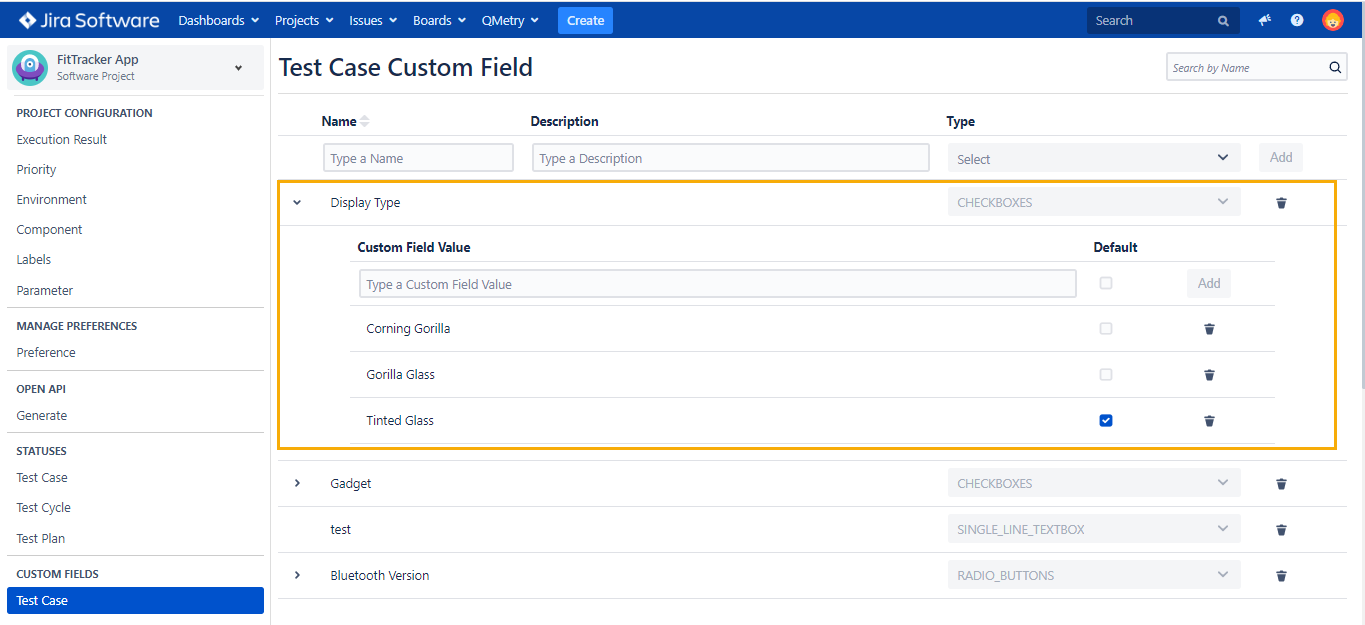
3. Click on the Delete icon of the custom field that you want to delete. (Highlighted in below screenshot)
Note: Deleting custom field value is possible. But a deleted custom field will lose all it's linkages with test assets it was previously linked with.
The Test asset's custom field value will appear blank once custom field gets deleted and linkages can't be recovered.
Deleting custom fields that are linked to any Test Asset will give below warning message:
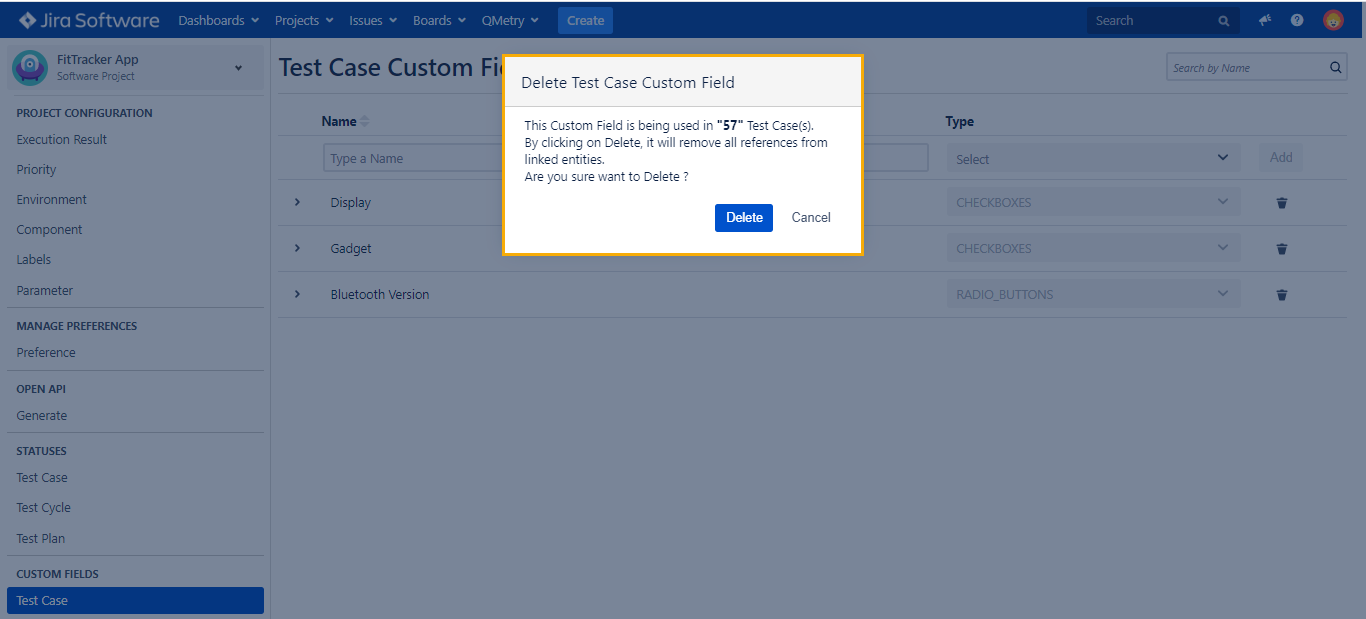
After deletion, the custom field gets removed from Test Assets.
Searching a Custom Field
Below are the steps to search a custom field:
- Navigate to QMetry > Configuration menu > Select Project.
- Click on custom field and type the keyword in text box at right side of the page title.
- You will get below result
Note: You can't create duplicate custom field, so this search functionality will help avoid duplication.
