Back to QMetry All Products Help Page
How to add & manage requirements?
Adding a Requirement
Open the Requirement module.
Select the folder on the tree under which you want to create a requirement.
Click New button on the toolbar.
The Create screen opens for requirement.
Enter the following fields to add a requirement:
- Summary: Enter name of the requirement.
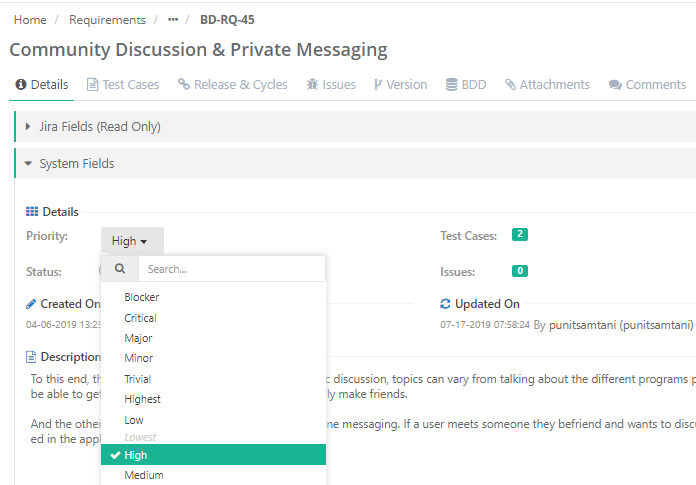
- Priority: Select priority for the requirement from the drop down like Low, Medium, High.
- Owner: All active users allocated a role in the current Project are listed on the drop down.
- Label(s): You can select multiple Labels for a requirement. Labels are addd from Projects > Labels.
- Status: Select status of the requirement like New, In-progress, Archived, Closed.
- Associated Releases: You can select multiple Releases to link the requirement with.
- Associated Cycles: The list populates in accordance with the Release(s) selected above. You can select multiple Cycles to link the requirement with.
- Description: Enter description for the requirement. Requirement Description can be added in either of the following formats:
- Plain Text
- Rich Text: Use of Rich Text Editor allows users to apply text formatting for Requirement Description and reduces chances of missing important details.
Note: To enable rich text editor, the Enable Rich Text parameter should be enabled for the Project (Projects > Project / Release / Cycle).
- User Defined Fields: If UDFs are created for requirement, then the fields are displayed on the screen.
Click Create to save the details.
When you open the requirement detail page, the Path displays the path upto the folder the requirement lies within.
BDD / Gherkin Editor: Refer to BDD Implementation.
Update Requirements
Users can save the requirement without creating its new version. In-place editor is provided on the detail screens for all test assets. Just hover over the field and click on the edit icon.
It opens the field in editable mode. In case of text field, enter the value and save the details.
In-place edit will always update the test asset.
To create a new version of test asset, follow the steps mentioned below.
Create a New Version of Requirement
If the User Role has Versioning rights (in Customization > Roles), then the button will be visible to the user. When you edit requirement details, you can save the details with a new version of that requirement.
Use Case: Many organizations may want to track version wise details of test assets, hence, they force versioning based on specific field changes.
Follow either (A) or (B) as mentioned here.
A. Click on the Con icon for the requirement and select Create New Version.

B. Open the requirement detail page and click on the Create New Version icon on the header.
The next screen opens in editable mode.
Make required changes and click on the Save as New Version button to create a new version of the requirement with updates. You can find the modifications in the new version of requirement.
- Version Comment: Enter description explaining the relevance of the requirement version.
Note: If the User Role does not have rights for Versioning, then users with that Role will not see the Save as New Version button. They can only Update the requirements/test cases. Users will also not able to view the Version drop-down. The rights for Versioning are assigned from Administration > Roles.
Archiving a Requirement
To delete a requirement, first you need to archive it.
Archiving Entire Requirement
You can not carry out further operations like adding attachments, linking test cases, issues, and release - cycles on an archived test asset.
A. Archiving from Requirement details page
B. Archiving from Requirement module list view
A. Archiving from Requirement detail page
Open the requirement details page by clicking on the requirement.
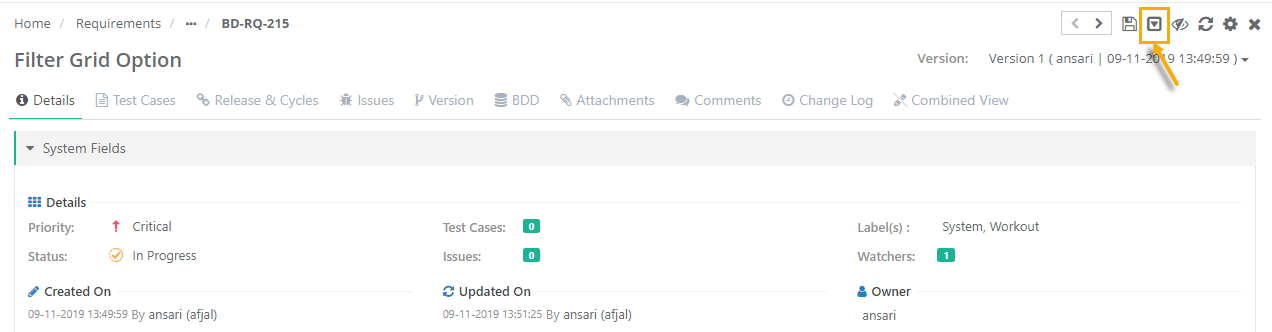
Click on the Archive icon on the top right corner of the page.
It will archive all the underlying versions of the requirement.
To unarchive an archived requirement, click on the Unarchive icon at the top right corner.
B. Archiving from Requirement module List view
- Open Requirements module.
- The requirement list view opens with list of existing requirements within the project/folder.
- Click on the Con icon for the requirement you want to archive and select Archive. The requirement is archived after confirmation.

Archiving a Specific Requirement Version
Read about Archiving a Specific Requirement Version
Deleting a Requirement
It is a two step process:
- Archive a requirement (All the versions of the requirement will be archived.)
- Delete a requirement (The requirement will be deleted including all its versions.)
Deleting Entire Requirement
All the versions of the requirement should be archived to delete that particular requirement.
A. From Requirement detail page
B. From Requirement list view
A. From Requirement detail page
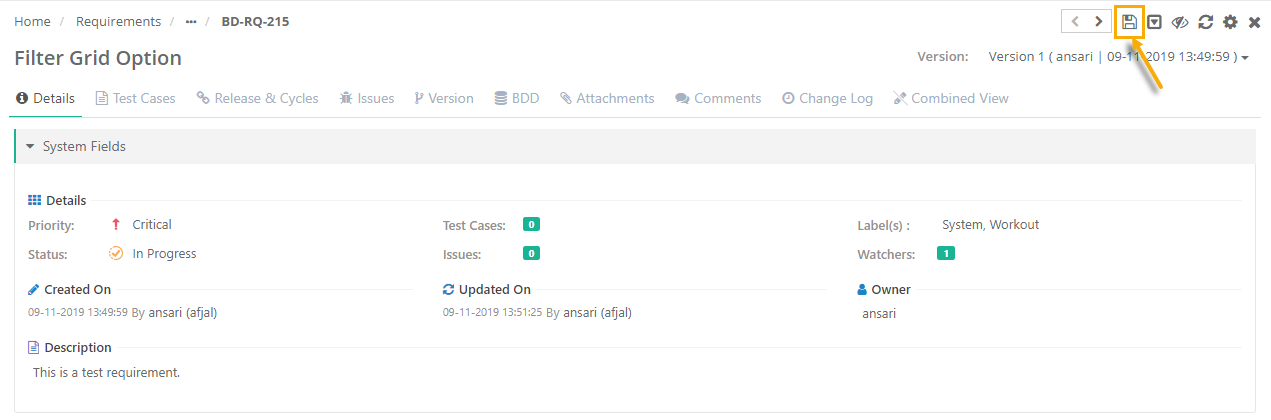
- Open the requirement detail page.
- Click on the Delete icon at the top right corner of the screen.
Once the requirement is archived, it looks like below.
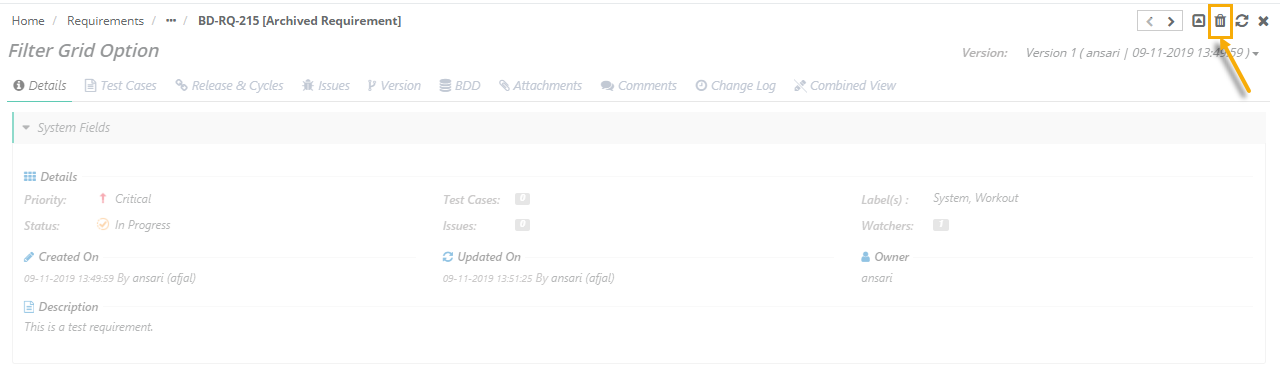
The Delete icon now appears at the top right corner of the page.
Confirm the operation on the pop-up.
B. From Requirement list view
To view the archived requirements on the screen, select the Show Archived checkbox above the grid.
It displays archived requirements along with other requirements.
Click on the settings icon for the archived requirement and select Delete.
Deleting a Specific Requirement Version
Delete a Requirement Version
Users can archive and delete individual versions of requirements. To delete a requirement, it needs to be archived first.
Archive a Requirement Version
1. Open requirement details page.
2. Click on the Version tab to view different versions that exist for the requirement.
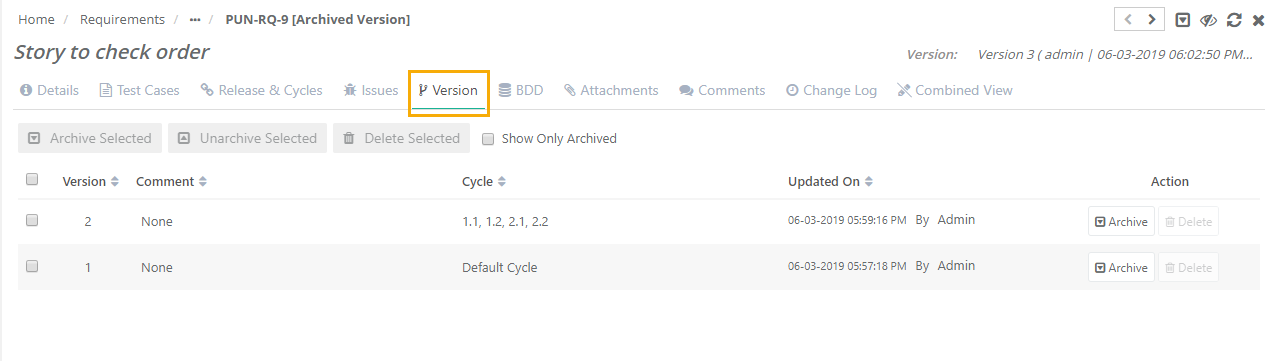
3. The Action column has Archive and Delete buttons on it. The delete button will be enabled only when the requirement is archived.
4. To archive, a particular version of the requirement, click on the Archive button.
Attachments, test cases/requirements, issues, releases, and cycles cannot be added to the archived requirement/test case.
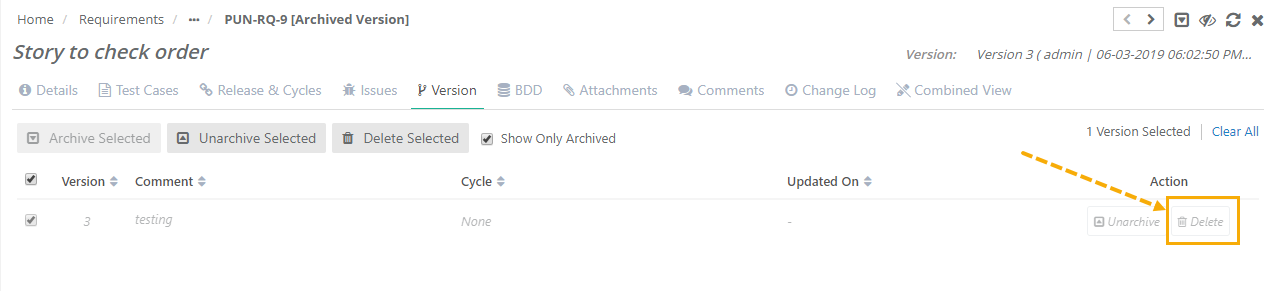
The Delete button is enabled once a requirement is archived.
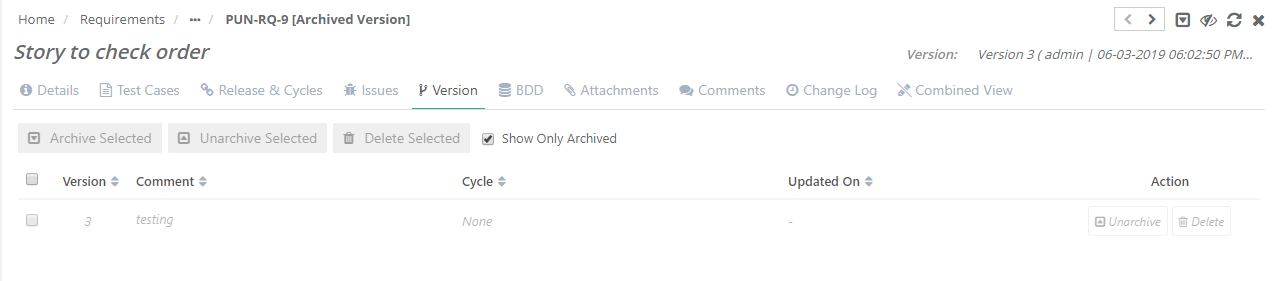
To view only archived requirements on the grid, select the Show Only Archived option. You can either unarchive or delete an archived requirement.
Click on the Delete button to delete a requirement.
Back to QMetry All Products Help Page