Back to QMetry All Products Help Page
How to add Issues/Defects?
Once an Jira is configured with QMetry project, then users can add issues only in Jira through the Issue module in QMetry. If Jira configuration is removed for the project, then only issues can be added within the internal tracker of QMetry. QMetry has internal tracker configured by default in the absence of an Jira. Users can add issues in internal tracker when they do not have Jira configured with QMetry. Once an Jira is configured, issues added through the Issue module will reflect in QMetry as well as in Jira.
The issue details to enter depends on whether you are adding issues in internal tracker of QMetry or in Jira.
- If you do not have Jira configured with the project you are currently working on, then enter details in QMetry fields.
- If you have configured Jira with the project you are currently working on, then the add issue screen contains Jira issue fields that you need to enter.
Steps
1. Open the Issue module.
2. Click on the New button on the toolbar.
3. The Create Issues screen opens next.
4. Fill the issue details as per the tracker you are using: QMetry internal tracker or Jira.
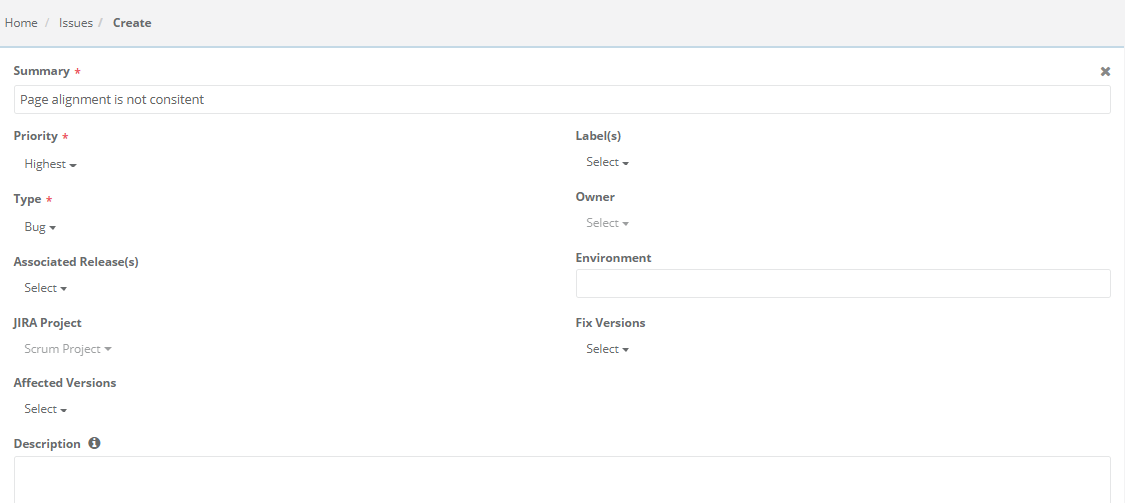
Fields for JIRA
- Summary: Enter name of the issue.
- Priority: Select precedency of the issue with regard to other issues like Blocker, Major, Minor, etc.
- Owner: Assign a user who is responsible to work on the issue.
- Jira originated issue: If issues are imported from Jira, then the Owner field on the Edit and detail screen will display Jira users only. The field will be read-only in QMetry.
- QMetry originated issue: (1) If Jira is configure with QMetry and issues are being logged from QMetry, then the Owner field on Add and Edit screen will be read-only.
(2) If Jira is already configured, then the Jira details page will show Reporter as per the Username which was used to configure Jira in QMetry. The user should have permission to Edit the Reporter field in Jira.
- Type: Select the type for the issue that is being added e.g. Bug, Enhancement, New Feature, etc. depending on the value stored for the list.
- Jira Project: This is the Jira project with which QMetry is integrated. This is a read-only field.
- Fix Versions: Application Versions in which the issue has been fixed.
- Affected Versions: Application Versions in which the issue impacted.
- Labels: You can select multiple Labels from the list.
- Environment: Enter environment within which the issue was detected.
- Description: Enter text describing the issue.
When an Jira is configured with QMetry, the User Defined Fields added in QMetry are mapped with Jira fields. The fields on the Create Issue screen in QMetry are displayed accordingly.
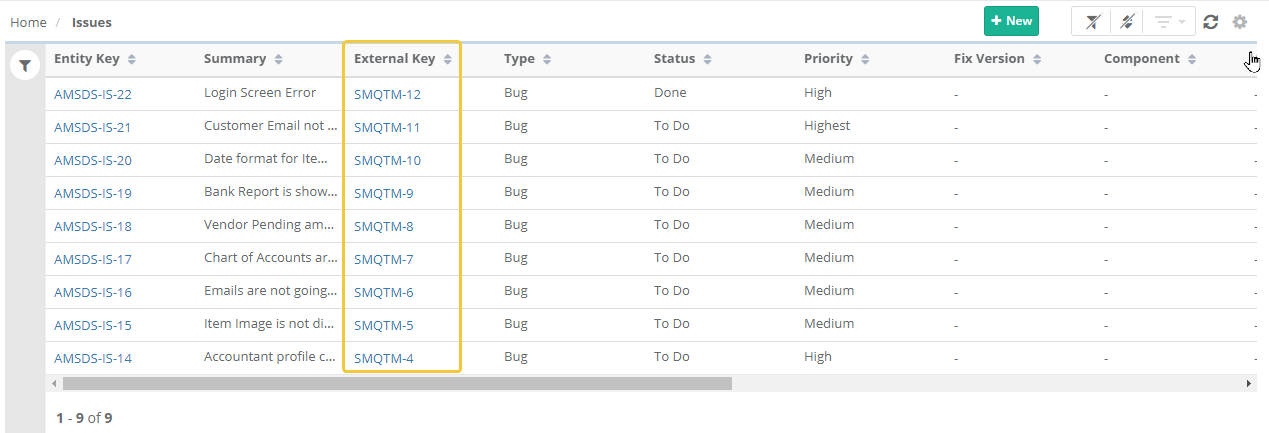
When an Jira is configured with QMetry and issues are entered through the Issue module, then the Ext ID is displayed for the issue that refers to its ID in the Jira. This Ext ID has link on it, clicking on which opens the issue details page in the tracker.
Status:
Once the issues is added, open the Issue details page. You can see the Status field with either QMetry status or Jira status (if Jira is configured) filled up in it. You can change the Status value on the Issue screen.
Select the work flow status of the issue. The Status field is a System Field that you can see under Administration > Manage Fields. The list values for the field can be edited/updated from Administration > Lists. The Status field is added to track the issue workflow and its progress. When Jira is configured, the field shows Jira status along with internal tracker status.
Once the Issue is added, its details page shows the following tabs on it -
- Attachments
- Requirements
- Execution Runs
- Change Log
- Comments
Back to QMetry All Products Help Page