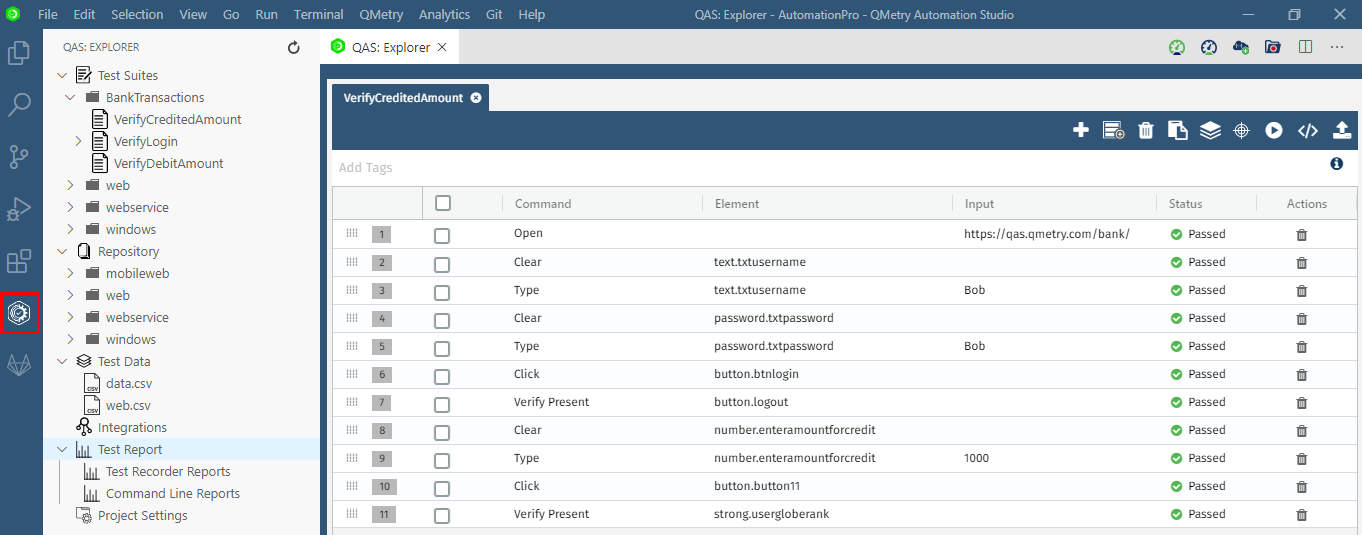
The QAS Explorer view is provided to browse the project structure easily and access all project test artifacts quickly. In addition to the Test Recorder UI, you can access the options to carry out operations (except test recording) through the context menu of QAS Explorer. You can also create new artifacts, delete artifacts, export artifacts, create test cases with manual steps, execute test cases and test suites. Assets created in QAS Explorer reflect in Test Recorder and vice versa.
On the navigation bar at the left, click on the QAS Explorer icon. The project folders are displayed in Design View for easy access and to filter project assets.
Repository: It displays Locator files for the project in the tabular view as well as in the source code view.
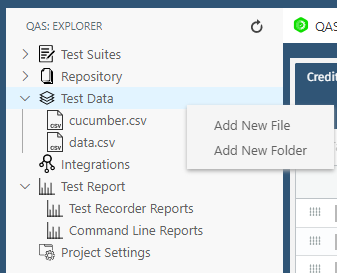
Test Data: It lists down test data files that are used in the project to manage the test data.
To access options related to Test Data, right-click on the Test Data folder or the files under it.
Integrations: It opens the Integration window showing integration related properties like integration with QTM, QTM4J, Jira, etc.
Test Report: It opens Test Recorder Reports/Command Line Reports generated for the current project.
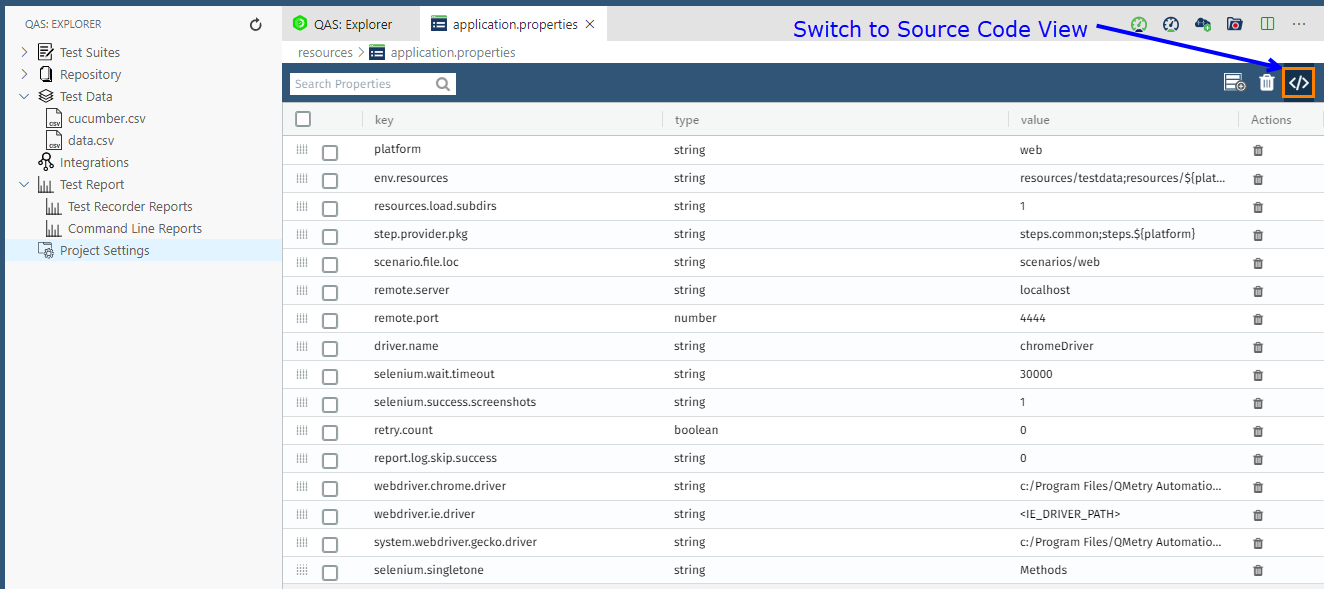
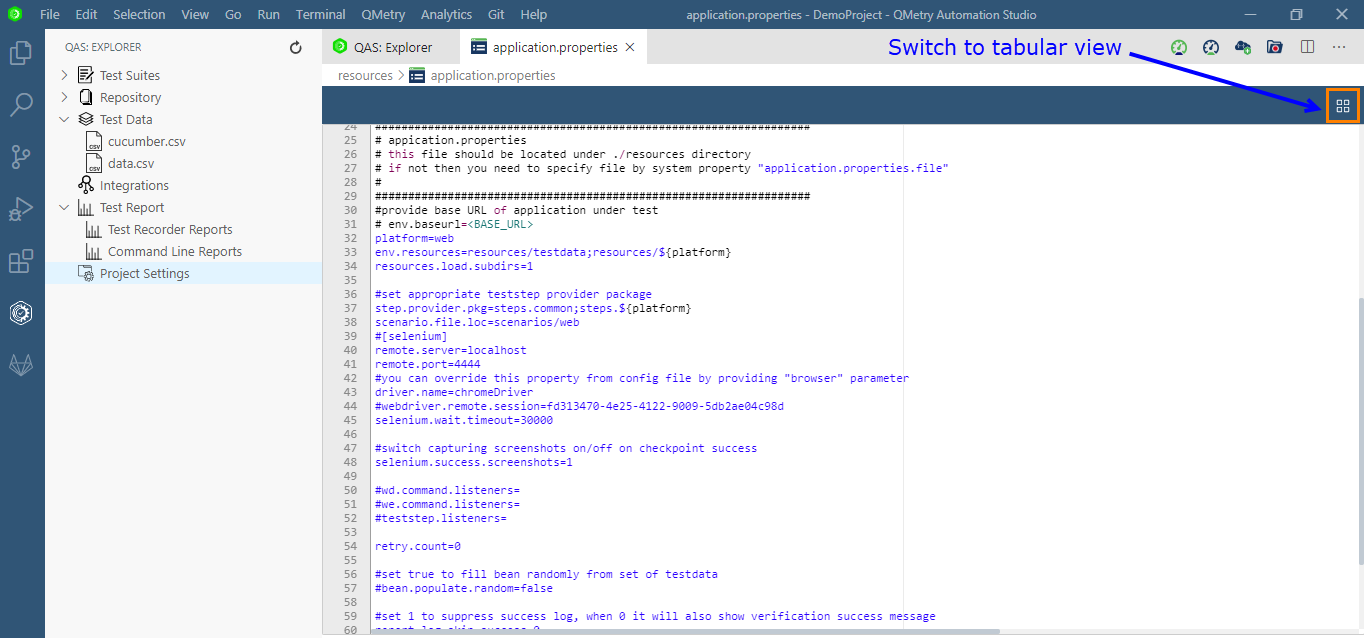
Project Settings: The application.properties file is displayed in the tabular view as well as in the source code view.
Test Suites: The folder structure is expandable. You can drill down to view all test suites and automated tests of the current project. Once the test case is added, the code can be written manually through the QAS Explorer panel or on the tabular view.
→ Access Test Suite/Test Case Options
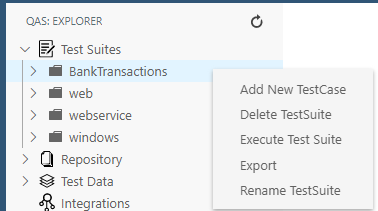
On right-click, the same options are available as on UI. For example, on a test suite right-click the available options are: Add New Test Case, Delete Test Suite, Execute Test Suite, Export, Rename Test Suite, etc.
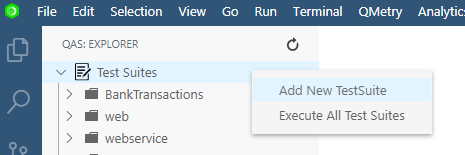
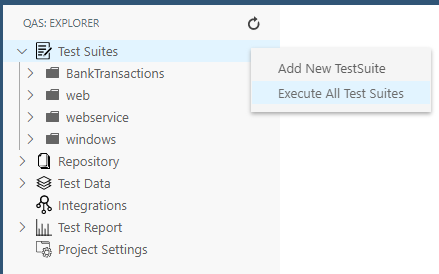
To add a new test suite, right-click on the Test Suites root level and click on the Add New Test Suite option.
To access options related to a test suite, right-click on the test suite folder.
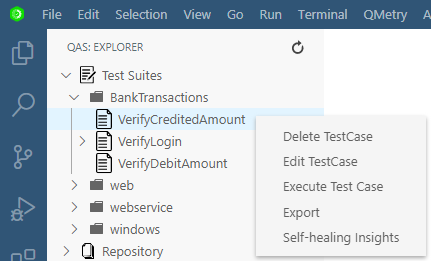
To access options related to a test case, right-click on the test case.
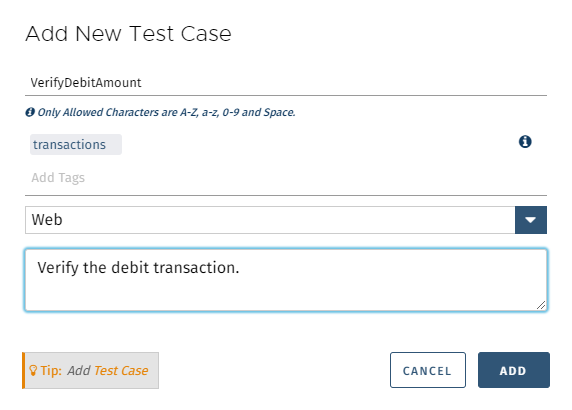
→ Add New Test Cases
You create test cases with manual steps, without recording any steps.
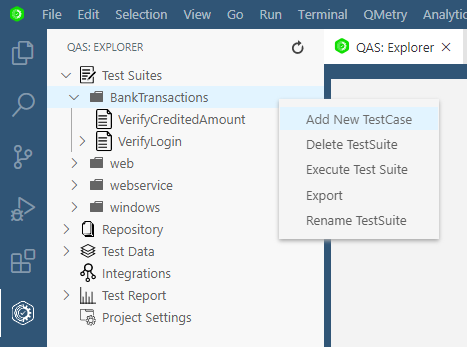
To add a new test case, right click on the test suite folder and select the Add New Test Case option.
The Add New Test Case pop-up opens.
Enter Test Case Name and Test Case Description.
Select the Platform for the test case.
Add relevant tags, if required.
Click Add.
You create a test case with manual steps, without recording any step.
Add manual steps either (A) adding rows or (B) using Shareable test cases
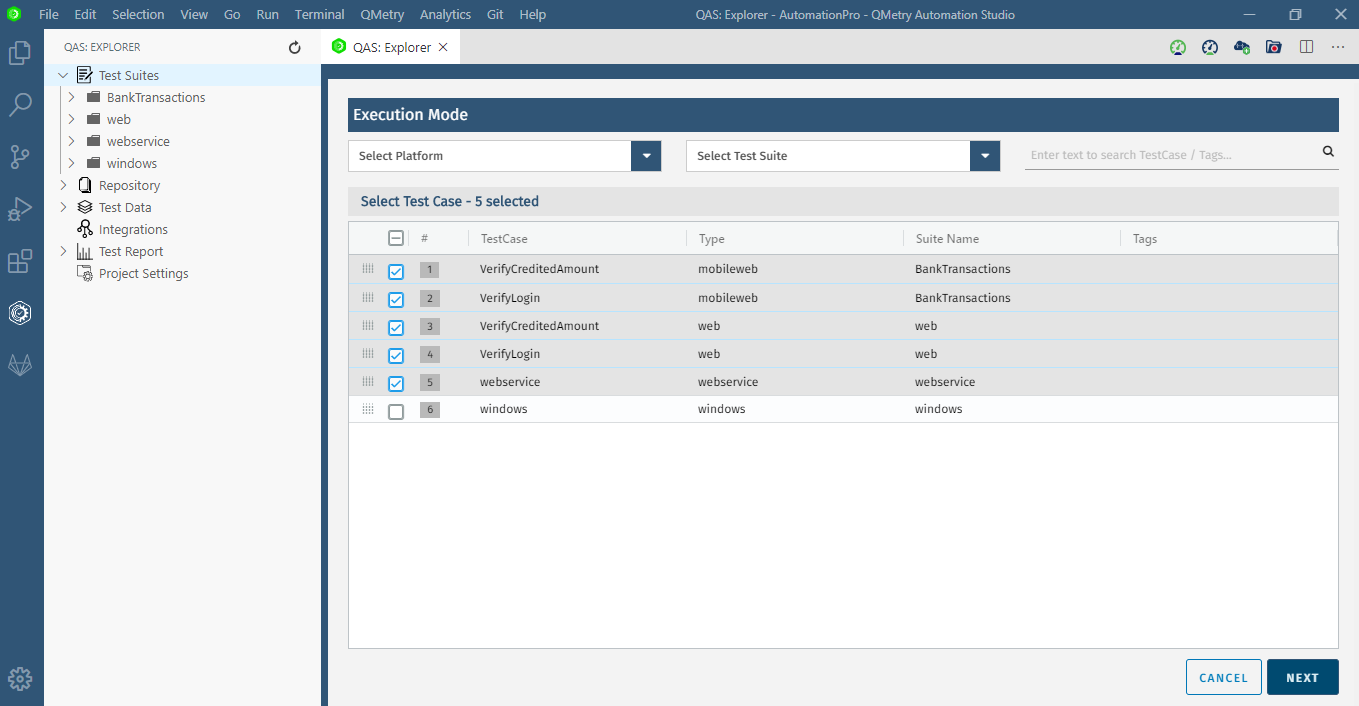
→ Execute All Test Suites
To execute all test suites at a time, right-click on the Test Suites folder at the root level. Refer to Execute All Test Suites for more details.
