| Table of Contents | ||
|---|---|---|
|
...
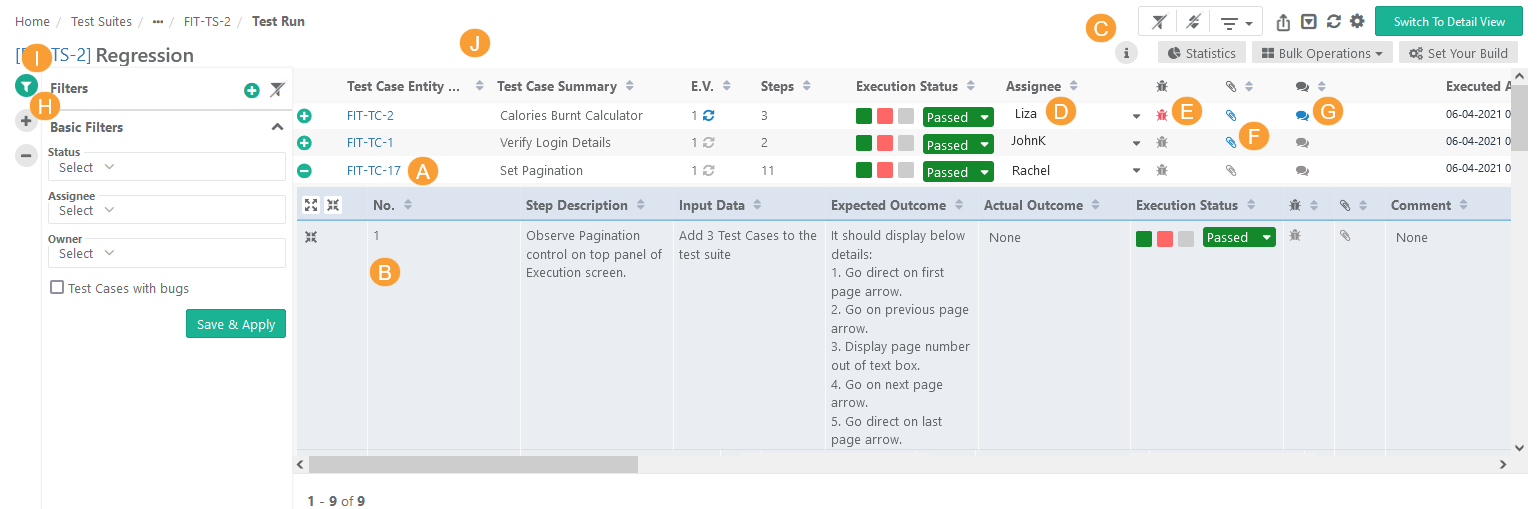
I. Apply Basic Filters and Advanced Filters.
J. Test execution screen allows testers to resize test case columns to view complete details and saves it in the cache for future usage.
→ Execution Type: The Execution Type column is added to the Test Suite Execution screen so that the testers can mark the executions as Automated or Manual. The column remains hidden by default. Users have to make the column visible from the column list. By default the execution type is "Manual". Users can change the value by opening the drop-down menu and selecting the "Automated" type.
Use Case: Testers need to run particular test cases as Manually and Automated way. Sometimes testers have to manually mark the status of test cases on the Execution screen. Therefore, testers need an ability to mark the executions as Automated or Manual on the execution screen.
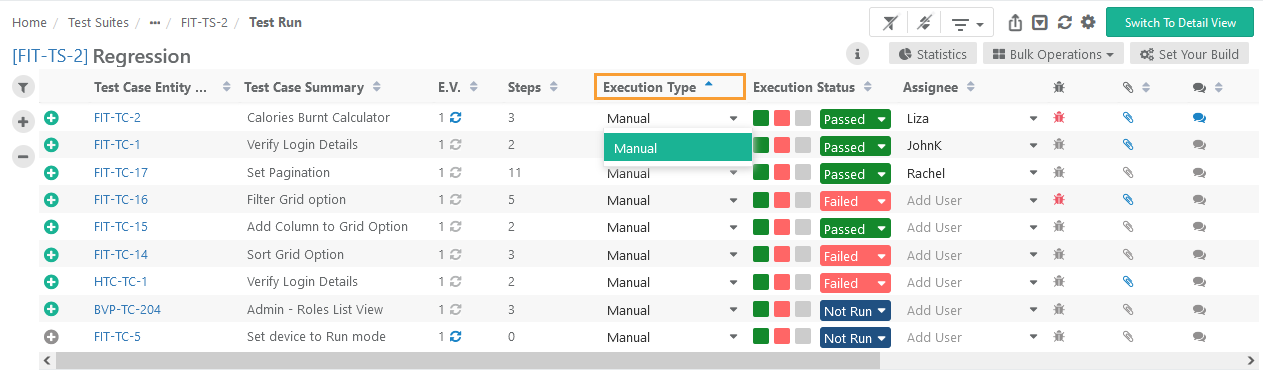
Users can also set Execution Type for bulk test cases at once. Refer to theBulk Operations section on this page.
Modify Execution Time Stamp
...
Setup vs. Attended Time
Users can enter Actual Setup Time and Actual Attended Time for each test case on the execution screen.
...
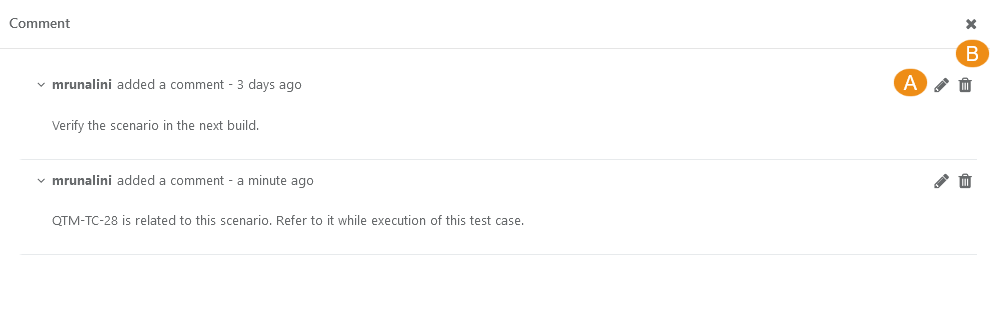
On the test execution screen, you can add multiple comments for each test case with the purpose to of efficiently collaborate collaborating on the testing and keep keeping track of the conversation.
...
B. Delete a Comment: Click on the Delete icon for the comment to delete the comment.
Execute Individual Test Cases
The test case execution status derives from test case step status and vice-a-versa. Assign Execution Status to individual test steps/test cases.
The derivation of Execution Status of test case and test step depends on the Derive Test Case Execution status from Test Case step status settings done in the Project module. The settings remain “On” by default, which derives test case execution status Tagging Users in a Comment
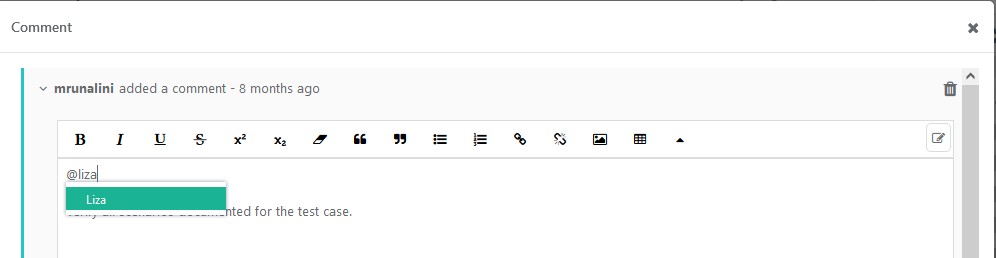
You can tag QMetry users in the Comments section, which improves collaboration among the team. An email notification will be triggered to the user who is tagged on adding/updating the comment.
QMetry users can be tagged by their usernames in the Comments section. For example, @<username>
Execute Individual Test Cases
The test case execution status derives from test case step status and vice-a-versa. An option is provided to disable auto-deriving test case execution status from step statuses and vice-versa is provided under Project Settings. Refer Assign Execution Status to individual test steps/test cases.
The derivation of Execution Status of test case and test step depends on the Derive Test Case Execution status from Test Case step status settings done in the Project module. The settings remain “On” by default, which derives test case execution status from test case step status and vice versa.
An option is provided to disable auto-deriving test case execution status from step statuses and vice-versa is provided under Project Settings. Refer to Managing Projects, Releases and Cycles for more details.
...
- Export Test Execution with steps in multiple rows: It will export test cases with steps arranged in multiple rows of excel sheet.
- Export Test Execution with steps in single row: It will export test cases with steps included in a single cell.
- Export Test Execution without Steps: It will export test cases without steps.
- Export Test Execution without Steps: It will export test cases without steps.
Field Export Options
- Visible Fields: Select the option to export only visible fields on the screen. The export will exclude the columns which are hidden.
- All Fields: Select the option to export all the fields irrespective of whether the columns are visible or hidden.
Select Export Format
- XLSX
- CSV
4. Click Export.Field Export Options
- Visible Fields: Select the option to export only visible fields on the screen. The export will exclude the columns which are hidden.
- All Fields: Select the option to export all the fields irrespective of whether the columns are visible or hidden.
Select Export Format
- XLSX
- CSV
4. Click Export.
Share Test Execution Runs with Other Users
Share Test Execution Runs
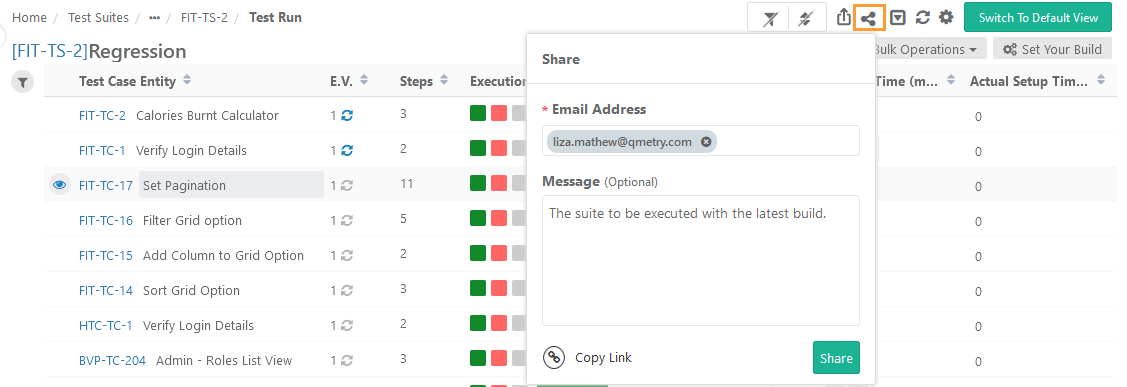
Users can share the test executions with other users over email. The recipient user will receive an email containing the asset summary with the Message written while sharing the asset and a link navigating to the particular asset. It helps the recipient users easily access the test asset.
Steps
Go to the Test Suite > Test Executions.
Click on the Share icon at the top. The Share pop-up opens.
Enter the Email Address of the user with whom you want to share the asset. You can mention multiple email addresses to share the test asset with multiple users at a time.
Enter the required message that you want to convey to the recipient of the email.
Click on the Share button.
Copy Test Asset Link
You can copy the link of the test asset to share it further with other team members. It helps you to get the specific test asset and share it with other users through email or chat. The other users with whom the link is shared can access the test asset directly from the link.
→ The following is the syntax of the URL:
https://<URL>>/#/<AssetType>/<AssetKey>
For example,
Steps
Go to the Test Suite > Test Executions.
Click on the Share icon at the top. The Share pop-up opens.
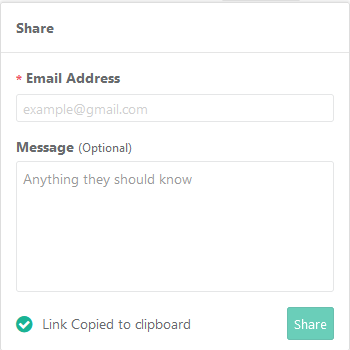
Click on the Copy Link button.
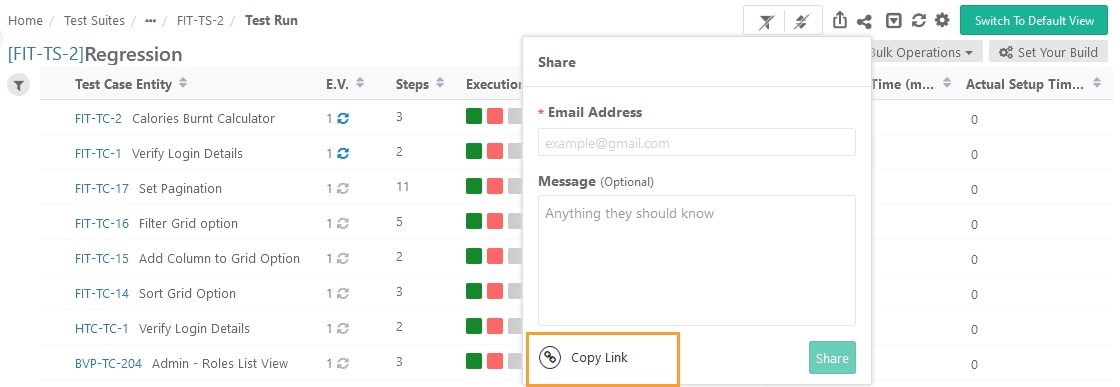
The test asset link gets copied to the clipboard. You can share this link with other team members, whom you want to work on the test asset, either through email or chat or any other communication means.
Export Test Execution to PDF
...