Back to QMetry All Products Help Page
Installation - Cloud
- Mrunalini Potnis
- Mohammad Faizan (Unlicensed)
- Durgesh Shukla (Unlicensed)
Table of Contents
Introduction
You can get an evaluation license for this add-on. You can install the add-on through either of the following methods:
- Atlassian Marketplace
- Jira
Note: IE11 support is removed by Jira since 31st March 2020.
QMetry Test Management for Jira (v4.1.1 onwards) has been tested on the following platforms:
Windows OS | Mac OS | ||
|---|---|---|---|
Windows 10 with:
| Screen Resolutions: 1600 px, 1920 px, 1360 px, 1366 px | MAC OS Catalina version 10.15 with:
| Screen Resolution: 1440 px |
Method 1: Through Atlassian Marketplace
1. Log into Atlassian Marketplace.
The Overview page for QMetry Test Management for Jira opens.
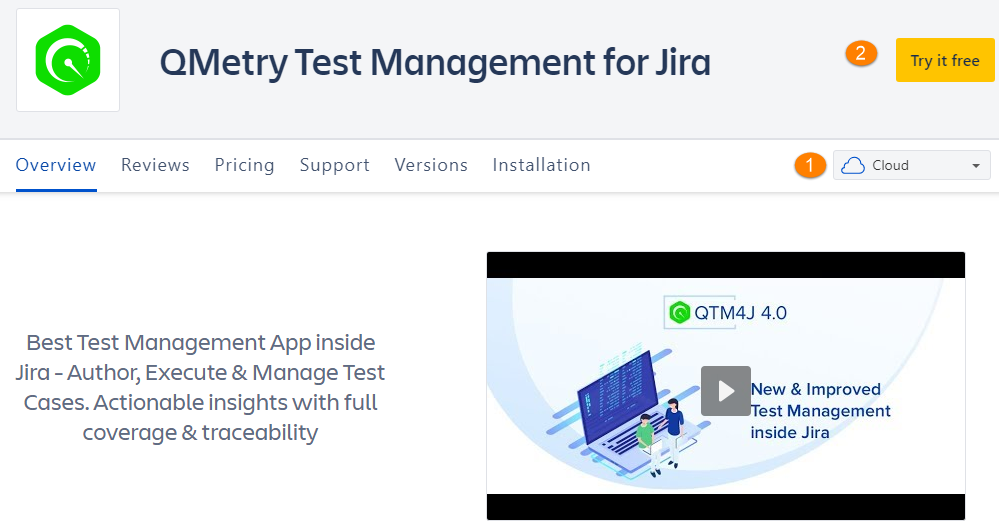
There are two options – (1) Cloud (2) Server on the drop-down menu at right. Select Cloud to install the Cloud edition of QMetry Test Management for Jira add-on.
2. Click on the Try it free button at top right corner.
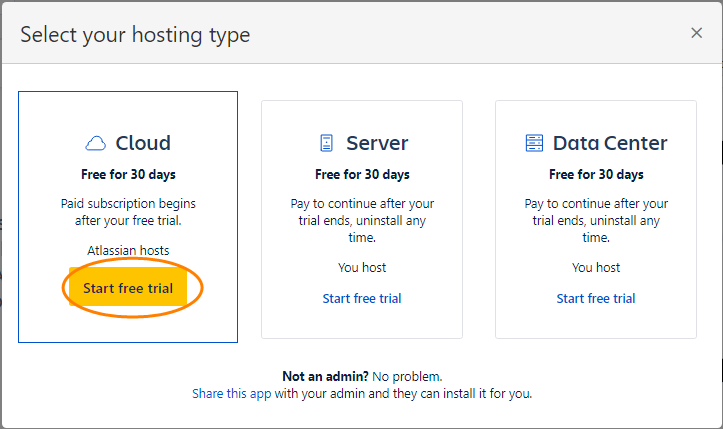
A pop-up opens with sections for Cloud, Server, and Data Center.
3. In the Cloud section, click on the Start free trial button.
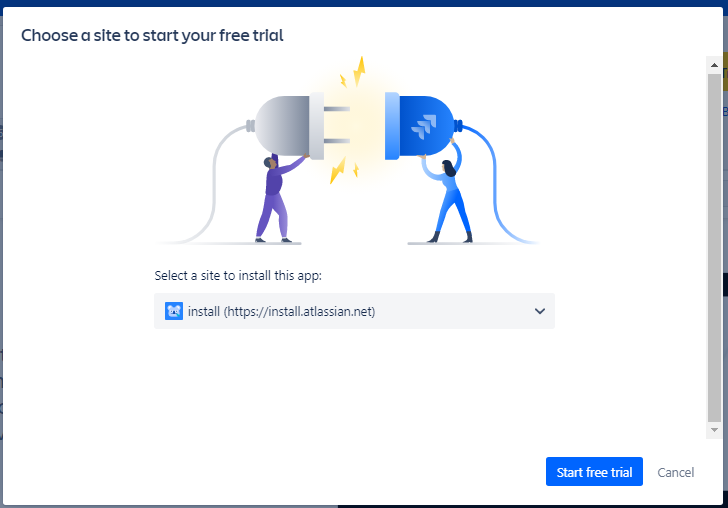
4. Select the Jira instance on which you want to install the app and click on the Start free trial button.
Note: Log into your Jira instance, if you are not already.
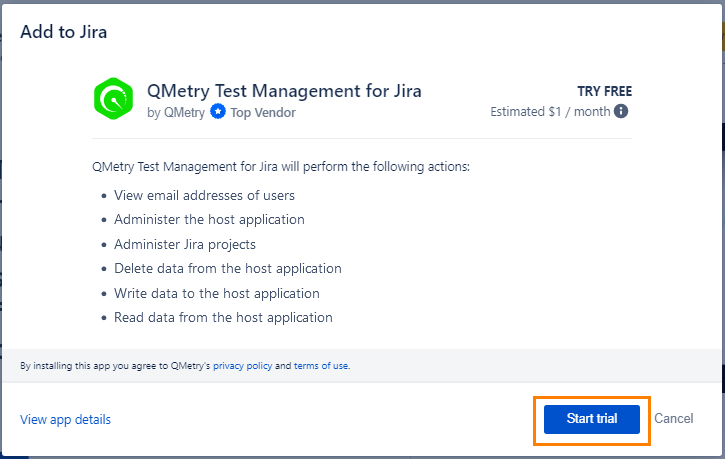
It opens Add to Jira pop-up.
5. Click on the Start trial button.
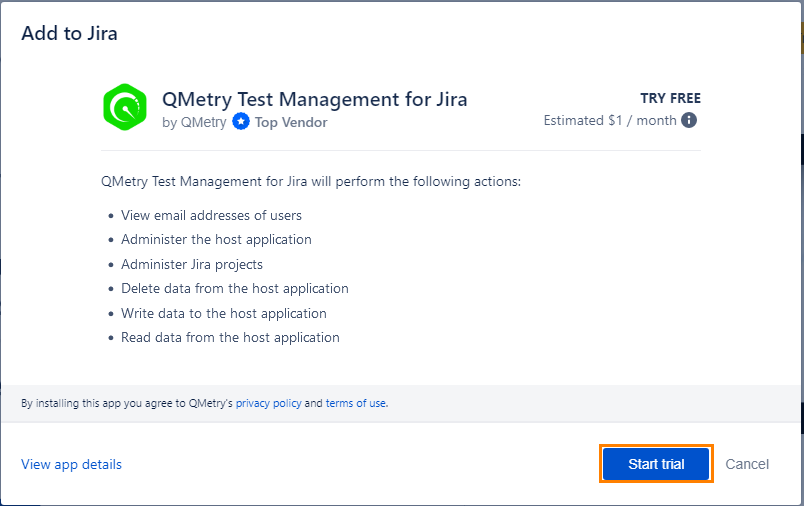
The installation process starts.

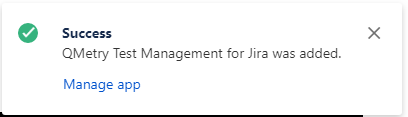
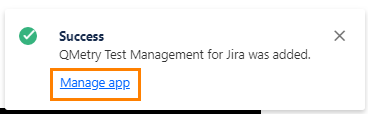
The success message appears once the QMetry Test Management for the Jira app is added.
6. Click on the Manage app link to verify the install.
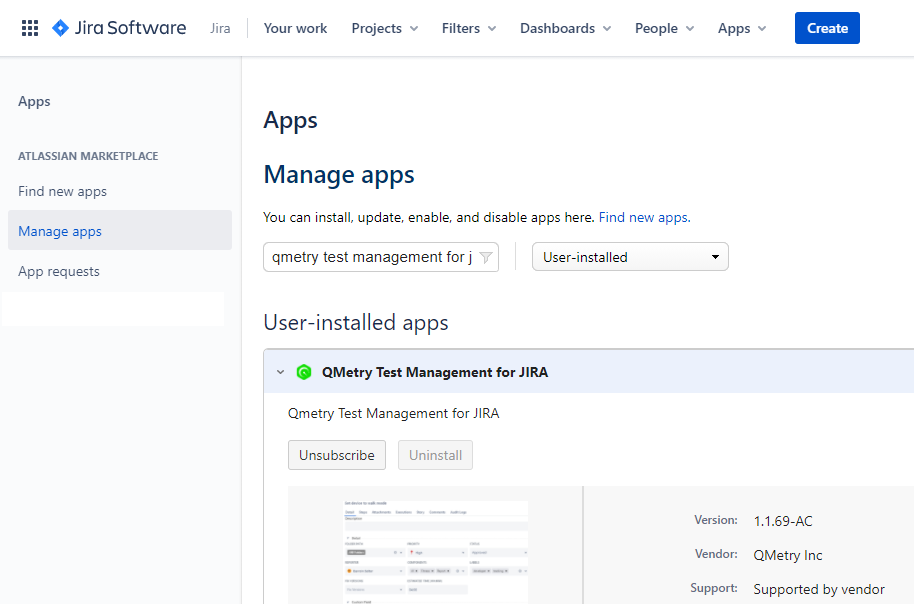
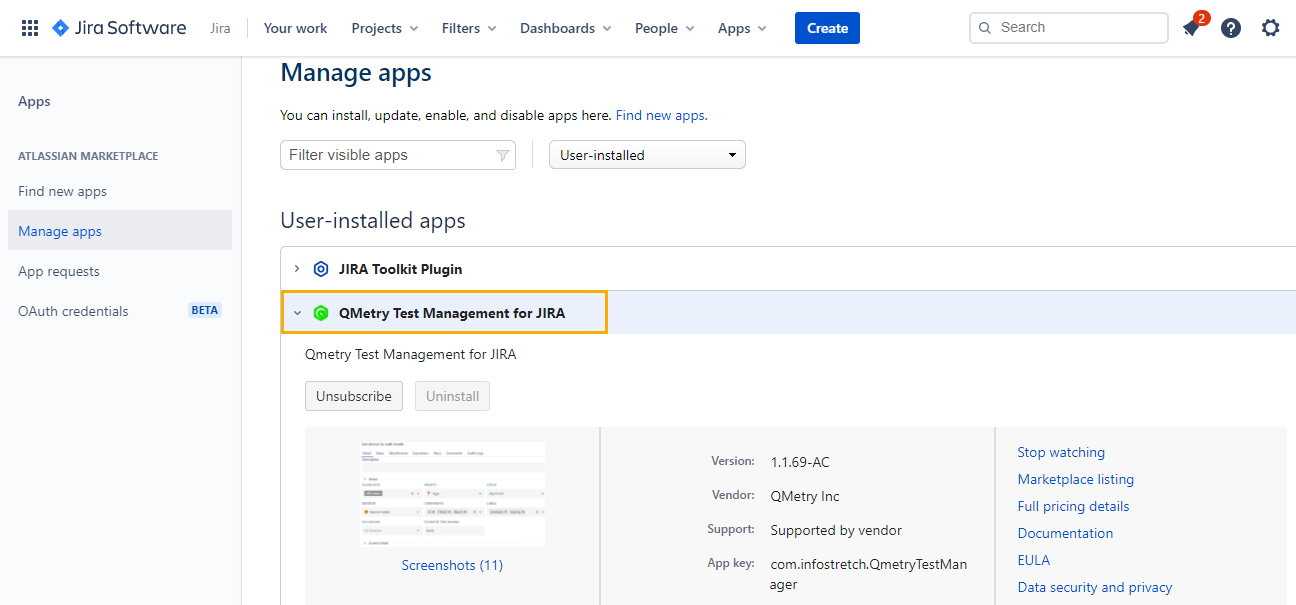
You will be navigated to the Manage apps section, wherein you can see the QMetry Test Management for the Jira app installed.
Method 2: Through Jira
You can get an evaluation license for this add-on.
Pre-condition: Users should have admin rights for the Jira instance.
1. Log into your Jira instance as an admin.
2. Click the cog icon on the navigation bar at left and select Apps.
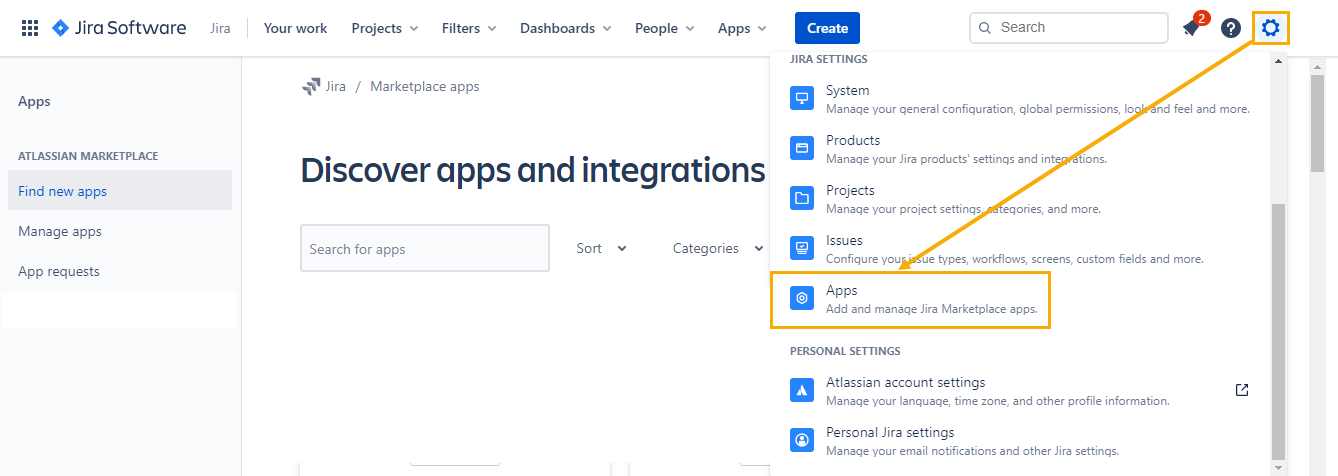
You are navigated to the apps page.
There are two options on the left panel:
A. Find new apps
B. Manage apps

3. Click on the Find new apps option. The list of apps is displayed at the right.
4. Search for “QMetry Test Management” through the search box. Locate the app and click on it.

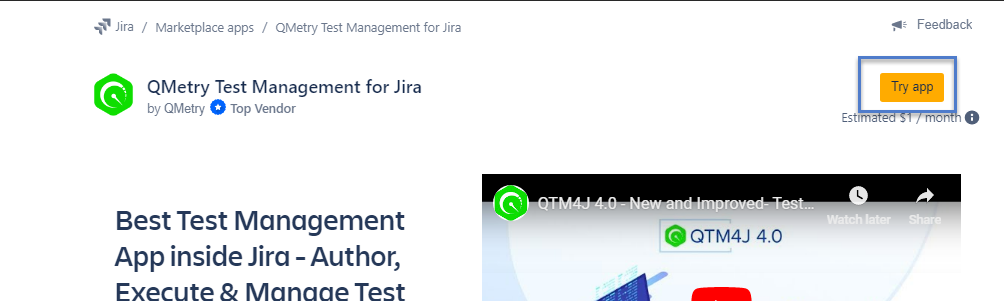
The next screen appears with the Try app button on it.
5. Click on the Try app button.
The Add to Jira pop-up opens.
6. Click on the Start Trial button.
The process is initiated.

The success message appears once the QMetry for the Jira Test Management app is added.
7. Click on the Manage app link to verify the install.
You will be navigated to the Manage apps section, wherein you can see the QMetry Test Management for the Jira app installed.
Where to find QMetry App after installation?
Once the installation is complete, you can access QMetry Test Management for Jira App within Jira.
In Jira with the new UI, you can find the QMetry App on the Apps menu.

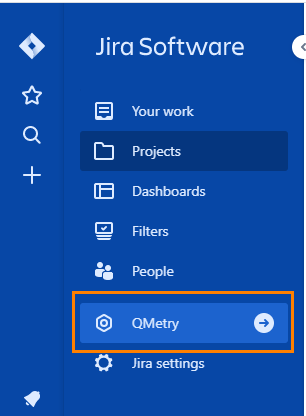
In Jira with older UI, you can find the QMetry on the main menu of Jira on the vertical navigation bar.
Note: Users should have project browse permissions to access QMetry Features and QMetry Project Settings.
Back to QMetry All Products Help Page