Add Comments
- Mrunalini Potnis
Analytics
Introduction
Adding comments to a test asset is a useful way to record additional detail about a test asset, and collaborate with your QA team members. Comments are shown in the Comments tab on the details page when you view a test asset.
Comments are maintained at entity level and not at version level. For example, if a requirement version is archived; you can still edit the Comment. The entire requirement is archived, then you can not edit the Comment.
Comments tab is available to enter the entity related comments. You can -
- Add Comments to Requirements
- Add Comments to Test Cases
- Add Comments to Test Suites
- Add Comments to Issues
Adding a Comment
To add comments to a test asset, i.e. to see the Comment button, you must have both of the following permissions for the issue's relevant project:
- Project access permission — to view the test asset to be commented on
- Module "Modify" permission — to add a comment to the test asset
To add a comment:
- Open the details page of test asset on which you want to add your comment.
- Open the Comments tab.
- Click on the Comments button. The text box opens.
- Enter your Comment and save it.
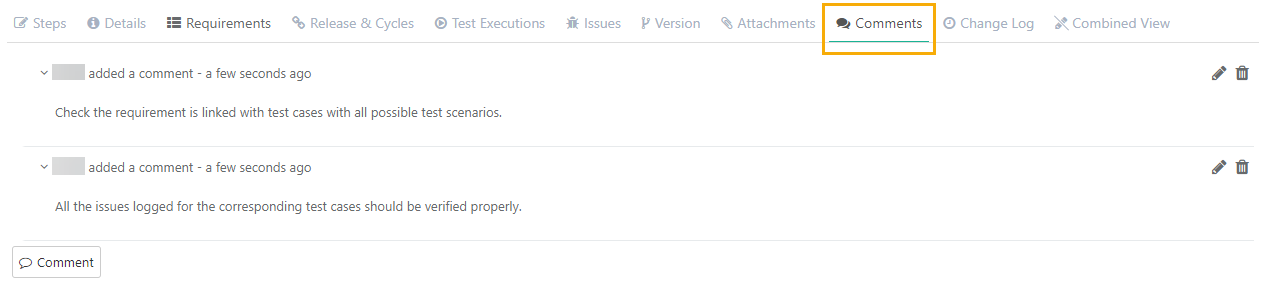
The entered comment will look like below.
Collapsing and Expanding a Comment
To collapse or expand a comment, follow the steps:
- Locate the comment in the Comments tab at the bottom of the test asset.
- Browse to the comment you wish to collapse/expand.
- To collapse or expand a comment, click the arrow icon, located on the comment:

Editing a Comment
To edit a comment, follow the steps:
- Locate the comment in the Comments section at the bottom of the test asset.
- Browse to the comment you wish to edit.
- Click the Edit (pencil) icon, located on the comment:
- Edit the comment's text as required and save the comment.
- The word 'edited' will be displayed to indicate that the comment has been edited. You can hover your mouse over the word 'edited' to see who edited the comment and when.
Deleting a Comment
To delete a comment, follow the steps:
- Hover your mouse over the comment you wish to delete.
- Click the Delete (trash-can) icon, located on the comment:
- Confirm the deletion by clicking the Delete button.
Note: Comment related changes also reflect in the Change Log for the entity.
Comments Syncing between Jira and QMetry
When requirements (stories in Jira) are imported from Jira, the Comments tab on Requirements detail page displays Jira Comments by default. The tab displays last 10 Jira Comments for the requirement. To view Comments added from QMetry, turn the Show QMetry Comments “On”.
