Back to QMetry All Products Help Page
Setup Projects
- Mrunalini Potnis
- shalins@infostretch.com (Unlicensed)
Users can customize their automation project with built-in project templates of QAS that supports multiple languages, frameworks and platforms.
You can start automation with your favorite programming language like Java, Python, Typescript, Javascript. Most used frameworks like Web, MobileWeb, Android, iOS, Web Services, Windows (Desktop), Salesforce platforms are supported. When you create a project, boilerplate code will be auto generated which you can extend with your Test Cases and required assets.
Once you install QAS, follow the steps mentioned below to set up a QAS Project.
Setup a New Project
To open the QAS Project Setup Wizard, follow either of the following ways:
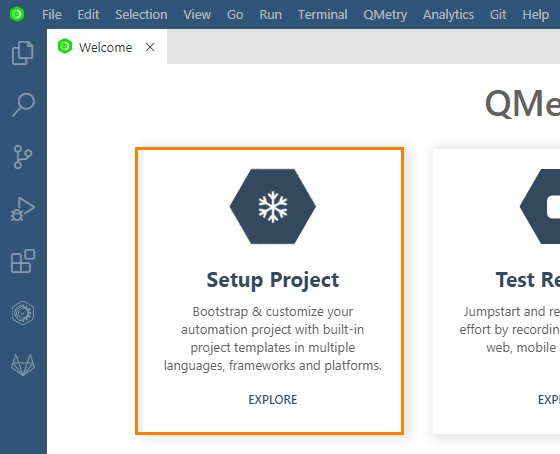
A. Click on the Setup Project section on the QAS Welcome page.
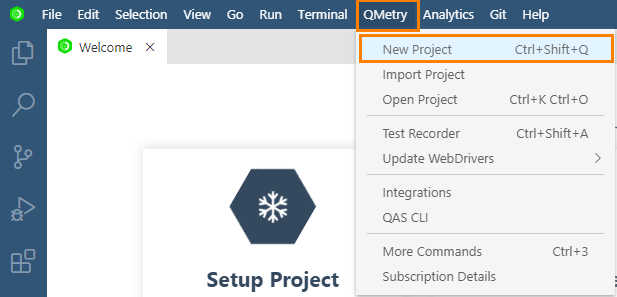
B. Open the QMetry menu and select the New Project option.
Supported Platforms, Programming Languages and Frameworks
A project is created with a combination of Platform, Programming Language and Framework. The following table shows Platforms, Languages and Frameworks supported by QAS.
| Platform | Programming Language | Framework | |
|---|---|---|---|
| BDD Test Methodology | TDD Test Methodology | ||
| Web | Java | QAF | Cucumber | TestNG | JUnit |
| Python | Behave | Robot | |
| JavaScript | Cucumber | Jasmine | |
| TypeScript | Cucumber | Jasmine | |
| Web Service | Java | QAF | Cucumber | TestNG |
| Mobile Web | Java | QAF | Cucumber | TestNG | JUnit |
| Python | Behave | Robot | |
| JavaScript | Cucumber | Jasmine | |
| TypeScript | Cucumber | Jasmine | |
| Android | Java | QAF | Cucumber | TestNG | JUnit |
| Python | Behave | Robot | |
| iOS | Java | QAF | Cucumber | TestNG | JUnit |
| Python | Behave | Robot | |
Window (Desktop) | Java | QAF | Cucumber | TestNG |
| Python | Behave | ||
| Salesforce | Java | QAF | Cucumber | TestNG | JUnit |
First, you need to select Platform(s), then Programming Language(s), and then Framework(s).
Once you select Platform(s), the Programming Language screen displays only those languages which are supported by all the selected Platform(s).
Once you select Programming Language(s), the Framework screen displays only those Frameworks which are supported by all the selected Programming Language(s).
Hence, if you want maximum options of Frameworks and Programming Languages, you can select a single Platform at a time.
Supported Programming Language and Framework Features
The following matrix shows the features supported by Programming Language and Framework.
| Programming Language | Framework | Test Record and Playback | CI/CD Support | BDD | TDD | MultiLingual | Test Data | Parallel Execution | Resource Management | WebService | MultiPlatform | Test Reports | Integrations with QMetry |
|---|---|---|---|---|---|---|---|---|---|---|---|---|---|
| Java | QAF |
| |||||||||||
| TestNG |
| ||||||||||||
| Cucumber | |||||||||||||
| JUnit | |||||||||||||
| Python | Behave | ||||||||||||
| Robot | |||||||||||||
| TypeScript | Jasmine | ||||||||||||
| Cucumber | |||||||||||||
| JavaScript | Jasmine | ||||||||||||
| Cucumber |
Step 1. Project Setting
- Name: Give a name to the Project.
- Location: Browse and select the project location on your machine, where all the project files will be stored.

Sample Project
QMetry Automation Studio provides inbuilt sample project library for novice users so that they can get a quick reference before setting up their own projects.
Check the Do you want to create sample project? check box to get a ready-made sample project for your reference. And select your desired Platforms , Language and Framework. Then click the Finish button. The sample project will be downloaded and stored on your mentioned location.
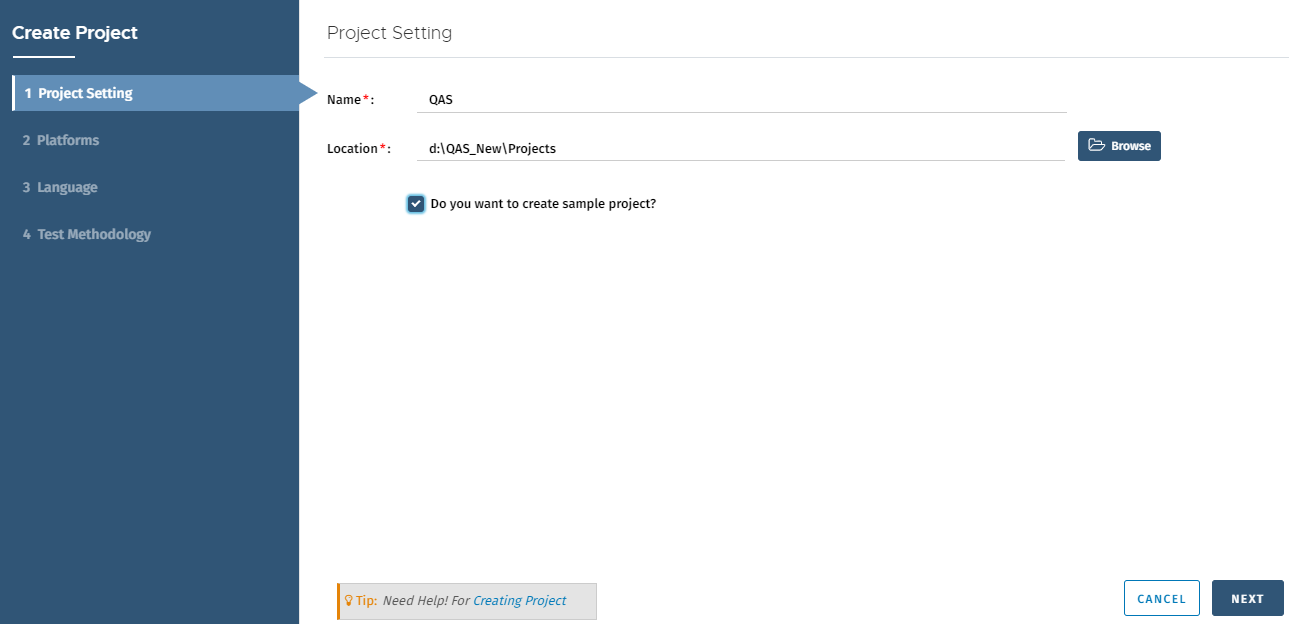
Click Next.
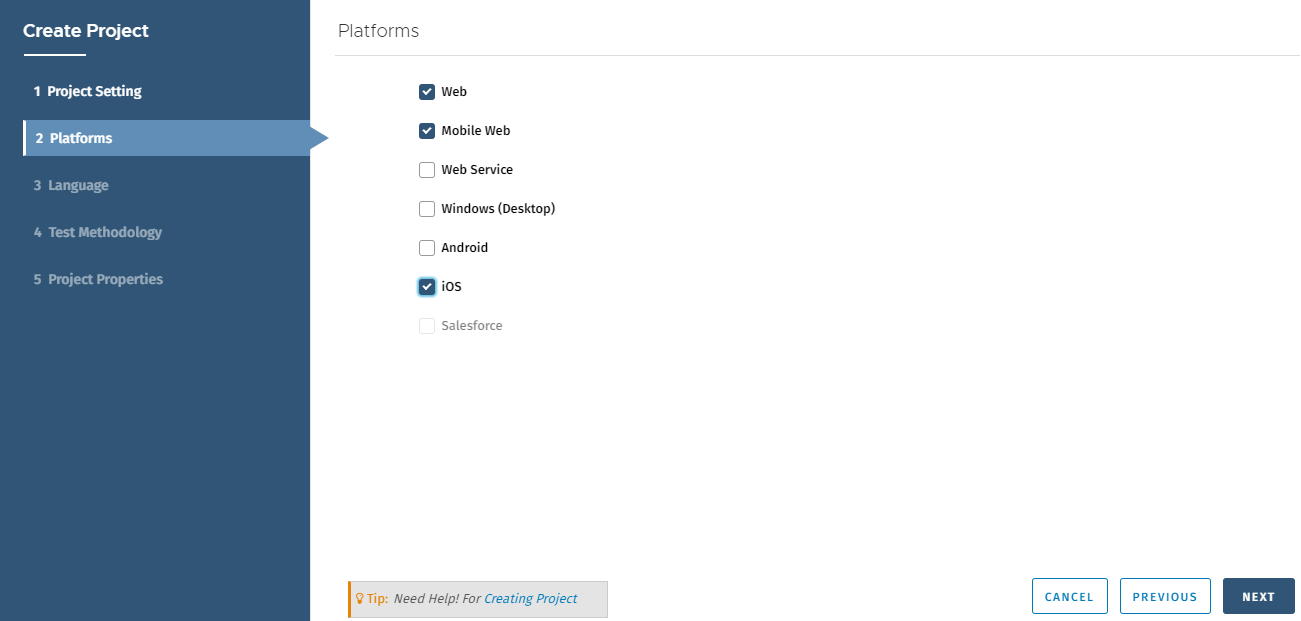
Step 2. Platforms
Platform selection is the first step on the QAS Project Setup Wizard. You can select multiple Platforms for your project.
Note: To create a project with the Salesforce platform, users should have purchased the SFDC App of QAS. QAS supports recording of Salesforce test cases on Classic as well as Lightning mode.
Select the platform(s) and click Next.
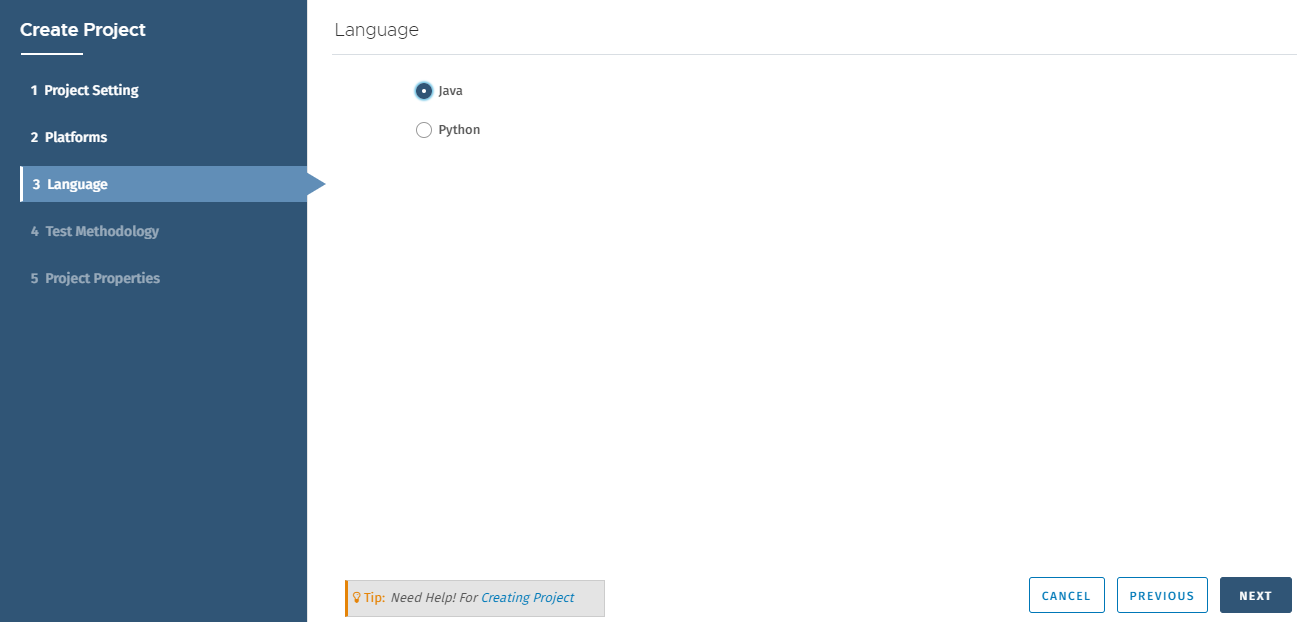
Step 3. Language
For the selected Platforms, the options to select Programming Languages are displayed.
Select the language and click Next.
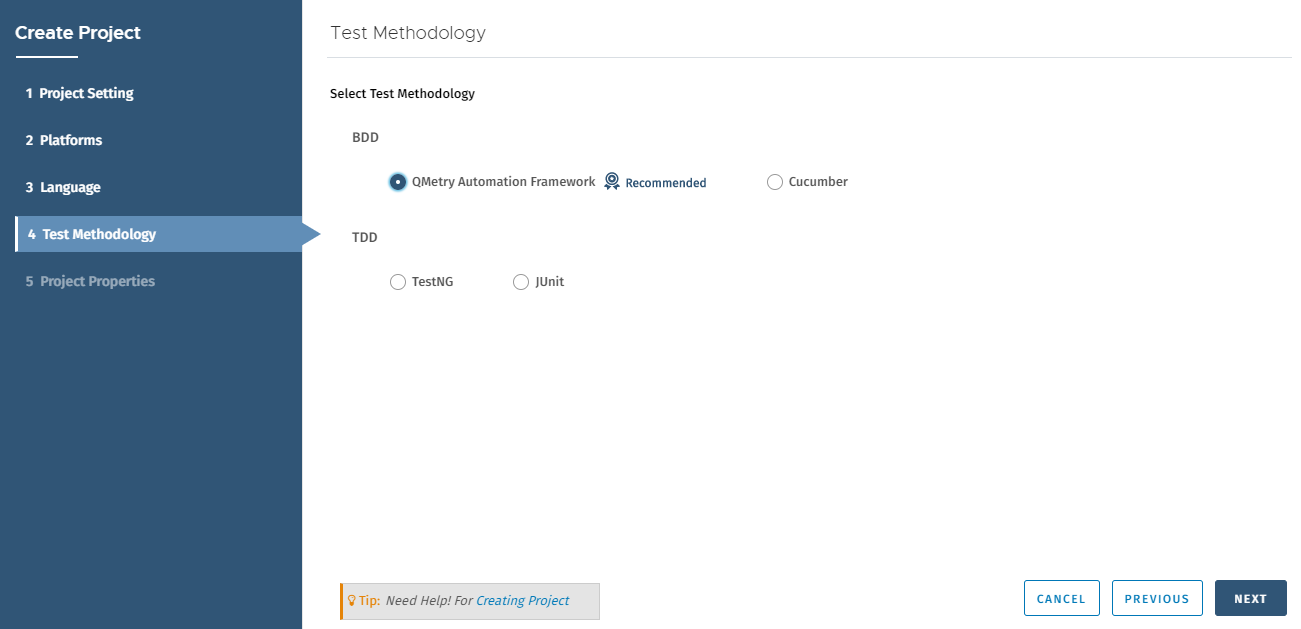
Step 4. Test Methodology
Options to select Frameworks depend upon the Platforms and Programming Languages you selected in the earlier steps.
The Frameworks are bifurcated as per their test methodology - BDD or TDD. It makes developers and testers task easy to make the choice of the desired framework.
Select the Framework in accordance with the approach that you want to follow in the project.
The Framework tagged as "Recommended" is the recommended one. Select Framework(s) and click Next.
For BDD test methodology, the following frameworks are selected as default as per the language selection:
Java → QMetry Automation Framework
Python → Behave
JS → Javascript Cucumber
TS → Typescript Cucumber
If you have opted for a sample project at Step 1, then this will be your last step for project setup.
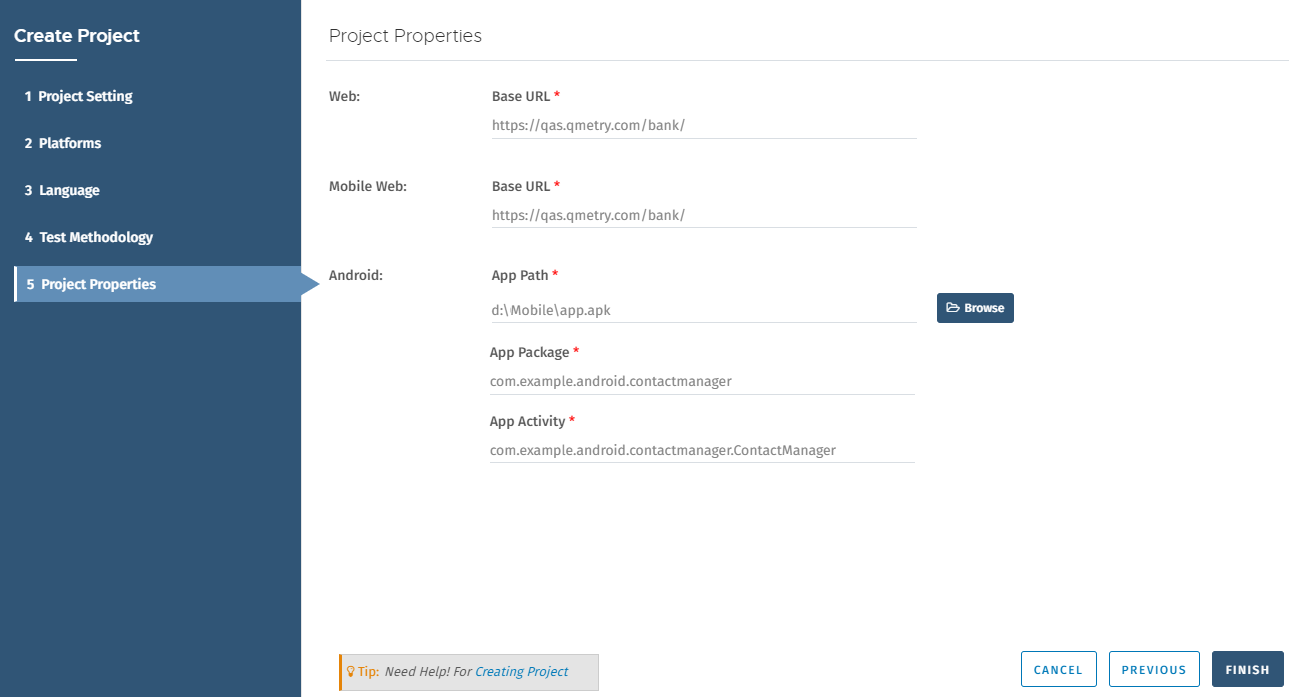
Step 5. Project Properties
The following table shows the Platform wise properties that you need to enter.
| Platform | Additional Options | Description | Example |
|---|---|---|---|
| Web | Base URL | https://testmanagement.qmetry.com | |
| Web Service | API Base URL | https://api.google.com | |
| Windows (Desktop) | Application Id | Application identifier or executable full path. | Microsoft.WindowsCalculator_8wekyb3d8bbwe!App |
| Android* | App Path | The path of the apk file of the Android app that you want to run. The path could be of URL or your local machine/remote machine. On entering the App Path, the App Package and App Activity populate automatically in the next fields. (Android Studio should have been installed for the Android projects.) | http://{baseurl}/bank/app.apk D:\Mobile\app.apk |
| App Package | Java package of the Android app you want to run. By default, this capability is received from the package manifest (@package attribute value) | com.example.android.contactmanager | |
| App Activity | Activity name for the Android activity you want to launch from your package. This often needs to be preceded by a . (e.g., .MainActivity instead of MainActivity). By default this capability is received from the package manifest (action: android.intent.action.MAIN , category: android.intent.category.LAUNCHER) | com.example.android.contactmanager.ContactManager | |
| iOS | App Path | The path of the apk file of the Android app that you want to run. The path could be of URL or your local machine/remote machine. On entering the App Path, the Bundle Id populates automatically in the next field. (Xcode should have been installed for the iOS projects.) | http://{baseurl}/bank/app.apk D:\Mobile\app.apk |
| Bundle Id | Bundle ID of the app under test. Useful for starting an app on a real device or for using other caps which require the bundle ID during test startup. To run a test on a real device using the bundle ID, you may omit the 'app' capability, but you must provide 'udid'. | io.example.com | |
| Mobile Web | Base URL | It is a mobile site URL. | https://testmanagement.qmetry.com |
| Salesforce | Base URL |
* Refer to How to fetch App Activity and App Package? for details.
Once your project is set, refer to the README.md file in the project.
For Java Installation, Python Installation, Android Installation, Node Installation, etc. follow the links below.
- Installing Java
- Installing Python
- Install and Set Up Android Automation Environment
- Installing Node and NPM
- Manage WebDrivers
- Import Projects
- Scenario Outline support for Cucumber BDD type Projects
- Support for Test Data in TestNG
- Install Web Service Certification
- Appium Setup for Mobile Native Execution
Related content
Back to QMetry All Products Help Page